
Subscribe to Our Youtube Channel
Related Manuals for Audix M3-W


Summary of Contents for Audix M3-W
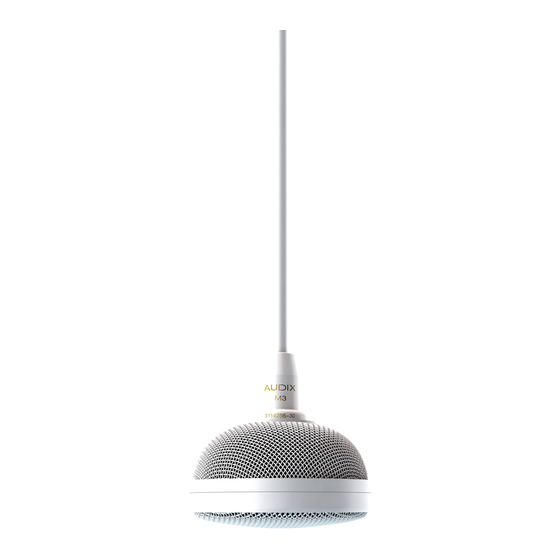
- Page 1 PROFESSIONAL MICROPHONES AUDIX M3 INSTALLATION GUIDE Thank you for choosing Audix! Our products are designed to provide you with many years of reliable service. Please read this manual before using the system for optimal installation and operation.
- Page 2 CBLM350 - Bulk cable. 50 meters (162’). Use with brass plenum bell housing #6 for best results. CBLM3100 - As above. 100 meters (325’) Note: The Audix M3 also works with CAT 5 and CAT 6 cable, however, Audix recommends using shielded cable.
- Page 3 XLR connector into the male M3 and spool the excess cable receptacle. inside the junction box. Fig H. If using Audix Cat 7 LSOH Fig G. Fasten the lid on top Fig I. Adjust the cable to exact interface cable , screw on the of the junction box.
- Page 4 The M3 microphone requires phantom power voltage of 18-52 volts. Microphone Placement Although the M3 can be hung from a variety of heights, Audix recommends 8’ to 8 ½’ AFF (above finished floor) placement. When capturing larger zone areas such as open seating or distance learning, the M3 has a coverage radius up to 10’.
Need help?
Do you have a question about the M3-W and is the answer not in the manual?
Questions and answers