Advertisement
Quick Links
Advertisement

Related Manuals for Audix M3


Summary of Contents for Audix M3
- Page 1 Installation Guide TRI-ELEMENT HANGING CEILING MICROPHONE Installation Guide...
-
Page 2: Optional Accessories
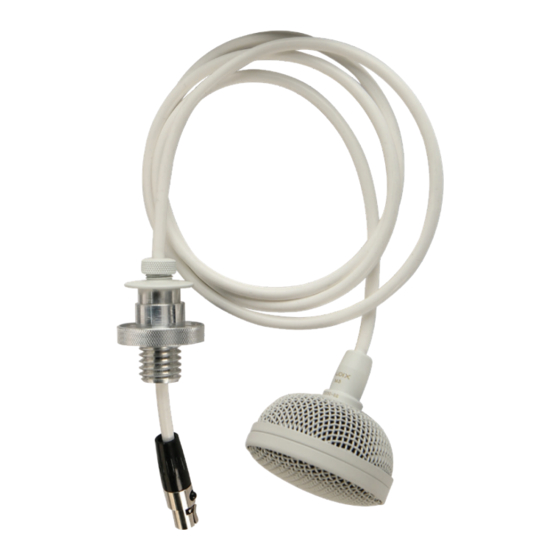
CBLM320 - Interface Cable 20 meters (66’) CBLM3100 - As above. 100 meters (325’) CBLM325 - Interface Cable 25 meters (82”) Note: The Audix M3 also works with CAT 5 and CAT 6 cable, however, Audix recommends using shielded cable. - Page 3 Install the threaded nut with Fig E. Insert the 7 pin mini female XLR Fig F. Set the initial height of the M3 shoulder side down and secure. connector into the male receptacle. and spool the excess cable inside the junction box.
- Page 4 Note: The M3 is provided with 4 feet of cable that can be adjusted to the desired height. In cases where a longer cable is necessary, Audix is able to provide custom lengths. Please call Audix or your local Audix Sales Representative for more details.
Need help?
Do you have a question about the M3 and is the answer not in the manual?
Questions and answers