Sign In
Upload
Download
Table of Contents
Contents
Add to my manuals
Delete from my manuals
Share
URL of this page:
HTML Link:
Bookmark this page
Add
Manual will be automatically added to "My Manuals"
Print this page
×
Bookmark added
×
Added to my manuals
Manuals
Brands
ZKTeco Manuals
Door locks
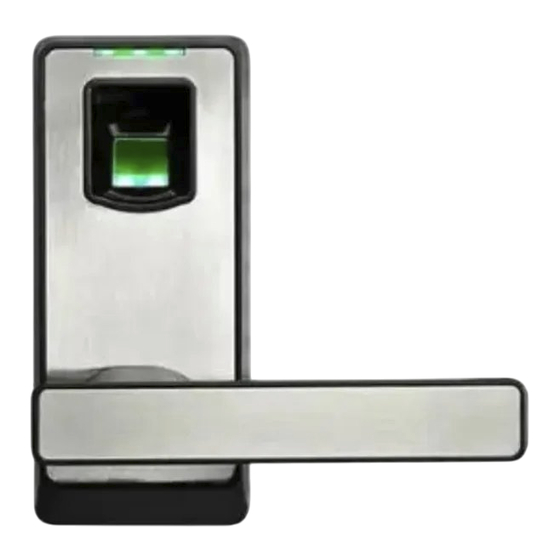
PL10D
Installation instruction
ZKTeco PL10D Installation Instruction
Hide thumbs
1
2
3
4
5
6
7
8
9
10
page
of
10
Go
/
10
Contents
Table of Contents
Bookmarks
Table of Contents
Before Installation
Packing List
Door Preparation
Installation
Drilling Holes on the Door
Install the Battery
Advertisement
Quick Links
Download this manual
Installation Instruction
PL10D/ML10D
Version: 1.0
Date: Nov., 2014
Table of
Contents
Previous
Page
Next
Page
1
2
3
4
5
Advertisement
Table of Contents
Need help?
Do you have a question about the PL10D and is the answer not in the manual?
Ask a question
Questions and answers
Related Manuals for ZKTeco PL10D
Door locks ZKTeco PL10 Installation Manual
Fingerprint lock (10 pages)
Door locks zkteco PL10 Installation Instruction
(10 pages)
Door locks ZKTeco ML10 Series User Manual
(19 pages)
Door locks ZKTeco ML10D Installation Instruction
(10 pages)
Door locks ZKTeco TL100 User Manual
Fingerprint lock with touch keypad (26 pages)
Door locks ZKTeco L5000 User Manual
Fingerprint (49 pages)
Door locks ZKTeco TL700 Installation Manual
Intelligent smart lock (16 pages)
Door locks ZKTeco TL300B Installation Manual
(11 pages)
Door locks ZKTeco ML100 Installation Manual
(24 pages)
Door locks ZKTeco TL600 Installation Manual
(19 pages)
Door locks ZKTeco AL-130 Series User Manual
(11 pages)
Door locks ZKTeco GL300 Series Installation Manual
(14 pages)
Door locks ZKTeco GL300 User Manual
(18 pages)
Door locks ZKTeco TL100 User Manual
Fingerprint lock with touch keypad (25 pages)
Door locks ZKTeco LH4000 Installation Instruction
(11 pages)
Door locks ZKTeco LH3600 Installation Instruction
(12 pages)
This manual is also suitable for:
Ml10d
Table of Contents
Print
Rename the bookmark
Delete bookmark?
Delete from my manuals?
Login
Sign In
OR
Sign in with Facebook
Sign in with Google
Upload manual
Upload from disk
Upload from URL


Need help?
Do you have a question about the PL10D and is the answer not in the manual?
Questions and answers