Advertisement
Quick Links
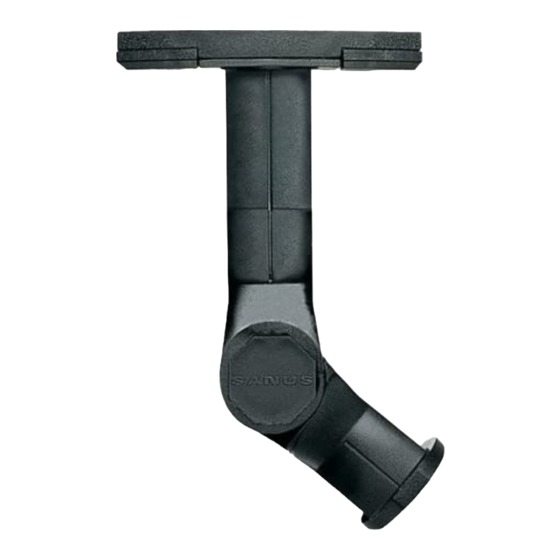
Thank you for choosing the Sanus Systems WMS3 wall mount. The Sanus Systems WMS3 wall mount is designed to support
EN
speakers weighing up to 3.62 kg (8 lbs.).
This product is designed for use in wood stud and concrete block walls only! The wall must be capable of supporting up to
five times the weight of the monitor and mount combined. If you have any doubts about the ability of the wall to support
the monitor, contact Sanus Systems Customer Service, or a qualified contractor. English text
ES
Gracias por elegir el soporte para pared WMS3 de Sanus Systems. El soporte para pared WMS3 de Sanus Systems está
diseñado para sostener parlantes con un peso de hasta 3,62 kg (8 lb).
Este producto está diseñado para ser utilizado en paredes con viga de madera y bloques de hormigón solamente. La pared
seleccionada debe poder soportar cinco veces la suma del peso del monitor y el soporte. Si duda acerca de la capacidad de
la pared para soportar el monitor, comuníquese con el servicio de atención al cliente de Sanus Systems o con un contratista
calificado.
Nous vous remercions d'avoir choisi un montant mural WMS3 de Sanus Systems. Le montant mural WMS3 de Sanus Systems
FR
a été conçu pour supporter des haut-parleurs pesant jusqu'à 3,62 kg (8 lb).
Ce produit a été conçu pour être utilisé seulement sur un montant en bois ou sur un mur bétonné! Le mur doit pouvoir
supporter jusqu'à cinq fois le poids du moniteur et du support combinés. Si vous avez un doute concernant la solidité du
mur derrière le support, communiquez avec le service à la clientèle de Sanus Systems ou veuillez faire appel à un technicien
qualifié.
Customer Service: 1-800-359-5520 • info@sanus.com • www.sanus.com
Sanus Systems 2221 Hwy 36 West, Saint Paul, MN 55113 USA
WMS5
(6901-300156 <00>)
CAuTION
ADVERTENCIA
ATTENTION
Advertisement

Related Manuals for Sanus Systems WMS5


Summary of Contents for Sanus Systems WMS5
- Page 1 Si duda acerca de la capacidad de la pared para soportar el monitor, comuníquese con el servicio de atención al cliente de Sanus Systems o con un contratista calificado.
- Page 2 Si no entiende estas instrucciones o si tiene alguna duda con respecto a la seguridad de la instalación, comuníquese con el servicio de atención al cliente de Sanus Systems. Sanus Systems no será...
- Page 3 Antes de comenzar con el armado, verifique que no haya piezas faltantes ni dañadas. En caso de que las haya, no devuelva el producto a su distribuidor; comuníquese con el servicio de atención al cliente de Sanus Systems. Nunca use piezas dañadas.
- Page 4 [13] [05] [01] 1: Mount the Speaker Plate CAuTION Be careful not to drill all the way through the cabinet and into components inside. Sanus is not responsible for any damage caused by drilling into the speaker. 1: Montar la placa para parlante ADVERTENCIA Tenga cuidado de no atravesar completamente el gabinete y perforar los componentes en su interior.
- Page 5 [04] [18] [13] [17] [14] NOTE [15] 1.1: Mounting to the Satellite Speaker Adapter NOTE Bose speakers may require screw [15]. 1.1 Montaje en adaptador de parlante satélite NOTE Los parlantes Bose podrían requerir un tornillo [15]. 1.1 Montage à l’adaptateur du haut-parleur satellite NOTE Les haut-parleurs Bose peuvent exiger une vis [15].
- Page 6 1/8 in. [08] 2: Mount the Wall Plate 2: Montar la placa de pared 2: Montage de la plaque murale 6901-300156 <00>...
- Page 7 5/16 in. [16] [08] 2.1: Mounting to Concrete Block 2.1: Montaje en bloques de hormigón 2.1: Montage sur un mur bétonné 6901-300156 <00>...
- Page 8 [05] 3: Install Covers and Arm CAuTION Do not overtighten. Continuing to tighten the Allen set screw once it is snug will not make the connection stronger. 3: Instalar las cubiertas y el brazo ADVERTENCIA No ajuste demasiado. Continuar ajustando el tornillo Allen una vez que está bien asegurado NO hará que la conexión sea más fuerte.
- Page 9 [07] 4: Attach the Speakers Wall Mount 4: Sujete los parlantes Soporte para pared 4: Fixation des haut-parleurs Montage au mur 6901-300156 <00>...
- Page 10 4.1: Ceiling Mount CAuTION Do not overtighten. Continuing to tighten the Allen set screw once it is snug will not make the connection stronger. 4.1: Soporte para techo ADVERTENCIA No ajuste demasiado. Continuar ajustando el tornillo Allen una vez que está bien asegurado NO hará que la conexión sea más fuerte.
- Page 11 CSAV, Inc. and its affiliated corporations and subsidiaries (collectively, “CSAV”), intend to make this manual accurate and complete. However, CSAV makes no claim that the information contained herein covers all details, conditions, or variations. Nor does it provide for every possible contingency in connection with the installation or use of this product. The information contained in this document is subject to change without notice or obligation of any kind.
Need help?
Do you have a question about the WMS5 and is the answer not in the manual?
Questions and answers