Table of Contents
Advertisement
Quick Links
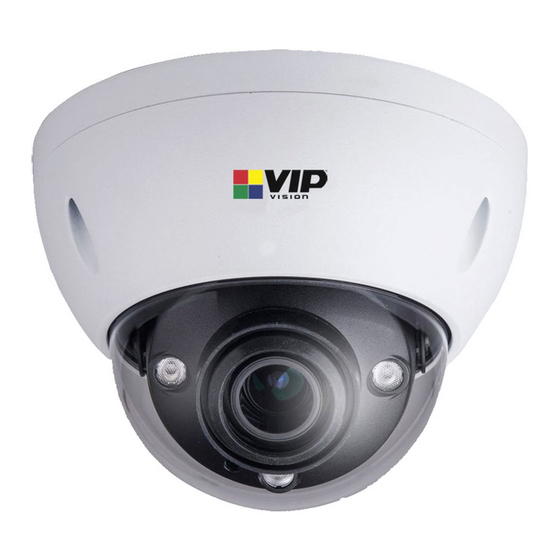
VDIRM Series
Thank you for purchasing a VDIRM Series CCTV Surveillance Camera.
This Quick Install Guide covers basic setup, installation and use of your surveillance system.
For the full user manual, instructional videos, tips on using your surveillance system &
warranty information, please visit: www.vip-vision.com
Applicable Models
VSIP8MPVDIRM
VSIP4MPVDIRMH
VSIP12MPVDIRM
VSIP12MPVDIRMV2
Camera Quick Install Guide
Available in 4MP (+Heater), 8MP and 12MP variants
8.0MP Ultimate Motorised Dome
4.0MP Infrared Motorised Dome (+Heater)
12.0MP Infrared Motorised Dome
12.0MP Infrared Motorised Dome
Version 290517
Advertisement
Table of Contents

Related Manuals for Vip-Vision VDIRM Series


Summary of Contents for Vip-Vision VDIRM Series
- Page 1 VDIRM Series Available in 4MP (+Heater), 8MP and 12MP variants Thank you for purchasing a VDIRM Series CCTV Surveillance Camera. This Quick Install Guide covers basic setup, installation and use of your surveillance system. For the full user manual, instructional videos, tips on using your surveillance system &...
-
Page 2: Safety Information
VDIRM Series | Surveillance Cameras Safety Information Electrical safety • All installation and operation here should conform to your local electrical safety codes. • Check that the power supply is correct before operating the camera. • Ensure the power supply conforms to the requirement in the SELV (Safety Extra Low Voltage) and the Limited power source is rated DC 12V or AC 24V in the IEC60950-1. -
Page 3: Fcc Information
VDIRM Series | Surveillance Cameras Operation and Daily Maintenance • Do not touch the heat dissipation component of the camera directly in order to avoid burns. • Do not dismantle the device; there is no component which can be fixed directly by users in the camera. -
Page 4: Included Components
VDIRM Series | Surveillance Cameras 1. Pre-install Information Included Components VDIRM Series IP Camera Quick Start Guide Installation Accessories Bag: • Position installation map • Expansion bolts • Installation screws • Screwdriver Dimensions Connection ports Port Name Function Zoom W... -
Page 5: Camera Installation
VDIRM Series | Surveillance Cameras 2. Camera Installation Here we will walk you through the installation process of your “VDIRM Series” camera. We will show you how to set up and adjust your camera, insert your microSD card, waterproof your network cable and setup your alarm. - Page 6 VDIRM Series | Surveillance Cameras 1.2 Accessing the microSD card slot (optional) 1.2.1 Installing the microSD card 1. Unscrew the dome enclosure and then lift the dome off. 2. Locate the microSD card slot. 3. Install the microSD card into its dedicated slot, making sure it’s properly secured.
-
Page 7: Adjusting The Camera Angle
VDIRM Series | Surveillance Cameras 1.3 Adjusting the camera angle 1. Hold the screw location of the rotation bracket on both sides. Turn horizontally, adjust the lens direction horizontally to the target position. 2. Unscrew the two locking screws on both sides, hold the IR light decoration cover to make the lens rotate vertically, adjust the vertical direction of lens to target position, then tighten the locking screws. -
Page 8: Alarm Setup
VDIRM Series | Surveillance Cameras 1.5 Alarm setup 1. Connect the alarm input device to the alarm input of I/O cable. 2. Connect the alarm output device to the alarm output of I/O cable. 3. Open the WEB and set the alarm input and output. Alarm input on WEB corresponds to I/O cable on device. - Page 9 All the designs and software here are subject to change without prior written notice. Please visit our website or contact your local service engineer for more information. For the full user manual, instructional videos, tips for using your surveillance system and warranty information, please visit: www.vip-vision.com...
Need help?
Do you have a question about the VDIRM Series and is the answer not in the manual?
Questions and answers