
Subscribe to Our Youtube Channel
Related Manuals for SEWOO LK-P41W


Summary of Contents for SEWOO LK-P41W
- Page 1 MODEL : LK-P41W MOBILE PRINTER All specifications are subject to change without notice...
-
Page 3: Table Of Contents
1. Unpacking Table of Contents Standard 1. Product overview 2. Unpacking 3. Usage and Installation 3-1. Control panel usage Printer Battery Roll paper 3-2. Battery Installation 3-3. Battery charging 3-4. Battery charger usage 3-5. Roll paper installation 3-6. Leather case usage Charger Serial Cable USB Cable Shielded... -
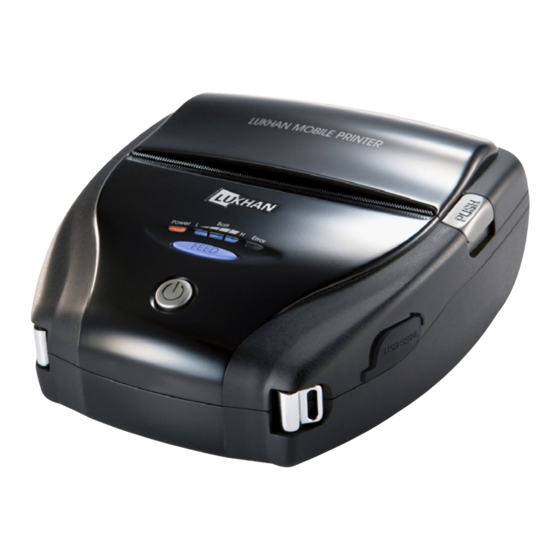
Page 4: Product Overview
2. Product overview 3. Usage and Installation 3-1 Control panel usage Open Button Paper feed button Power switch Button Name function SERIAL This button is used to turn the printer on and off. Power When the printer is off, press this button for approximately 3 seconds button and it will turn on the power. -
Page 5: Battery Installation
3-2 Battery Installation 3-3 Battery charging Hook 1. Be sure that the printer is turned off 2. After open the DC JACK cover, insert DC JACK into the printer. 3. Plug the power code to electrical outlet. 1. Align battery hook as shown in the picture 2. -
Page 6: Battery Charger Usage
3-5 Roll Paper installation 3-4 Battery charger usage Optional DC Jack lamp 1. Insert the battery into the battery holder as shown above Press the PUSH button to open Insert the paper in the right 2. Connect the DC JACK to the power electrical outlet. the paper cover direction 3. -
Page 7: Leather Case Usage
3-6 Leather case usage 3-7 Self Test Optional Turn off the power pressing the While you are pressing the FEED Open the leather case Place the printer into the leather power button for approximately button, press the power button case 3 seconds. -
Page 8: Peripherals Connection
4. Peripherals connection <The sample of self test printout> This product can communicate with other devices via Wifi(802.11b/g) communication and cable. 4-1 Wifi(802.11b/g) Connection 1. The Printer can be connected to devices equipped with wifi(802.11b/g) communication capacity (PDAs, PCs, etc.) 2. -
Page 9: Interface Cable Connection
5. Pritner Specification 4-2 Interface Cable Connection 5-1 Specification Printing Method Direct Thermal Printing Speed 80mm/sec Resolution 203 DPI X 203 DPI Character CPCL 7 Different Font Size (12~48pt) ESC/POS Font A (12X24), Font B (9X17) Character per line Font A : 48pt , Font B : 64pt Character set ALPHA NUMERIC Character, Extension Character... -
Page 10: Cpcl Command Compatibility
6. CPCL Command Compatibility NOTE Li-ion Battery Charger Battery type Compatible with only Partially 7.4V, 2200mAh commanders provided output Compatible Compatible Compatible by the manufacturer. Charging time 3 hour 40 minute ○ △ ● Size W X D X H(mm) 149 X 161 X 69 W X D X H”... - Page 11 Graphics Compatibility Line Print Mode Compatibility ○ SETLP ○ LINE ○ SETLF ○ INVERSE-LINE ○ Moving With X and Y Coordinates ○ PATTERN ○ LMARGIN ○ GRAPHICS ○ SETBOLD ○ ○ SETSP ○ Advanced Commands Compatibility Special ASCII Characters ○ CONTRAST ○...
-
Page 12: Setting Up The Software
7. Setting up the software Please refer to the programming manual included in CD. CAUTION ♣Certification Antenna shall be mounted in such a manner to minimize the potential for human contact during normal operation. The antenna should not be contacted FCC Information during operation to avoid the possibility of exceeding the FCC radio frequency exposure limit. - Page 13 SEWOO TECH CO.,LTD. ADDRESS Doosung Bd, 689-20, Kumjung-dong, Kunpo-si, Kyunggi-do, Korea TEL 82-31-459-8200 FAX 82-31-459-8880 URL http://www.miniprinter.com Rev. 1.0...
Need help?
Do you have a question about the LK-P41W and is the answer not in the manual?
Questions and answers