
Related Manuals for Smith & Noble Motivia Motorization


Summary of Contents for Smith & Noble Motivia Motorization
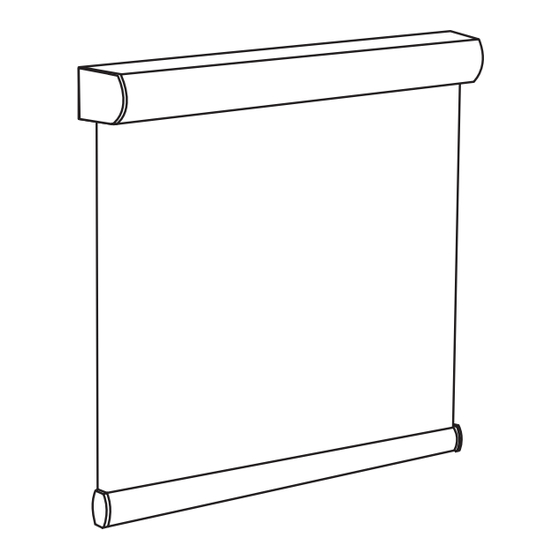
- Page 1 STEP BY STEP INSTALLATION INSTRUCTIONS Solar Roller & Classic Roller Shades Motivia ™ Motorization...
-
Page 2: Table Of Contents
Table of Contents Step 1 - Getting Started . . . . . . . . . . . . . . . . . . . . . . . . . . . . . . . . . . 3 Everything Motorization with No Valance . -
Page 3: Step 1 - Getting Started
Overview Step 1 — Parts & Tools Getting Started Motorization with No Valance - Remote Control First, make sure you have all the parts and tools required to install your shades. Bracket ALL THE HARDWARE YOU’LL NEED: Pencil, screw-driver, ¼” nut driver, level, and a drill with a ⁄... -
Page 4: Step 2 - Mounting The Brackets
Step 3 — Hanging the Shade Step 2 — Mounting Brackets Shades without Headrail Inside Mount Once the brackets are secured and Support Mount the brackets to the top of Bracket level, the fabric roll can be inserted. the window frame . Make sure the Make sure your hands are clean to brackets are aligned . -
Page 5: Step 4 - Attaching The Power Source
Step 4 — Attaching the Power Source Step 4 — Attaching the Power Source Attaching the Transformer Attaching the Power Source Battery Pack Plug the transformer wire into the When attaching the Power Source motor wire . Secure the wire behind to the Battery pack, first plug the the shade and along the window battery pack wire into the motor wire . -
Page 6: Overview
Overview Step 2 — Mounting Brackets 2" Motorization with Decorative Cassette - Inside Mount Remote Control and Wand Control Center the shade in the window frame . Cassette Mark the position of the brackets . End brackets should be located 2" in from each end . -
Page 7: Attaching The Power Source
Step 3 — Attaching the Power Source Step 2 — Mounting Brackets Mounting Brackets Battery Pack Attaching the Power Source Outside Mount 2" When attaching the Power Source to First, hold the shade above the Battery Wire the Battery Pack, first plug the battery window so that it’s perfectly centered To Solar Panel pack wire into the motor wire . - Page 8 Overview Step 2 — Mounting Brackets Motorized with Aluminum Valance - Inside Mount Remote Control The brackets can be mounted up against the window frame, or to the back side of the window casing . Make sure Aluminum Valance the mounting brackets are level . The brackets are always mounted so that the inner surface s face each other .
-
Page 9: Step 3 - Hanging The Shade
Step 3 — Hanging the Shade Step 4 — Attaching the Power Source To Solar Panel Attaching the Power Source Hanging the Shade Once the brackets are secured and Plug the battery pack wire into the Support To Motor Bracket motor wire . -
Page 10: Step 5 - Attaching The Valance
Step 5 — Attaching the Valance Step 5 — Attaching the Valance Valance Bracket Cover - Attaching the Valance Outside Mount Valance Bracket Cover Attach the valance by first hooking the You will be attaching the valance top lip of the valance panel onto the bracket cover to the valance bracket bracket as shown . -
Page 11: Operating The Controls
Optional Operating the Controls Remote Control Hold Down Bracket Select the desired channel with the Optional Hold Down Brackets are Channel CHANNEL key . The channel indicator mounted with the supplied screws . Display light will illuminate the channel that in With the shade at its proper drop, place on. -
Page 12: Safety
Care & Cleaning and Safety Troubleshooting Care & Cleaning PROBLEM SOLUTION 1 . Check that the power source Minimal care and cleaning is needed and motor are connected properly . The motor does not work to maintain the beauty of your shades . 2. -
Page 13: Warranty
Warranty Service The enjoyment of your window coverings should be everlasting, which is why our products come with a lifetime warranty . The warranty applies to the original owner, requires a proof of purchase and covers defects in material or craftsmanship . Shades or blinds must have been properly installed . We reserve the right to determine if your window covering warrants a repair or a replacement .
Need help?
Do you have a question about the Motivia Motorization and is the answer not in the manual?
Questions and answers
How do I level the shades
To level Smith & Noble Motivia Motorization shades, first ensure that the mounting brackets are installed level with each other. If the shade does not raise evenly, adjust the skew by pressing the UP or DOWN keys to raise or lower the shade. If needed, recheck the alignment of the brackets and make necessary adjustments.
This answer is automatically generated
What do I get a replacement motor for my motorized shade