Table of Contents
Advertisement
Quick Links
Advertisement
Table of Contents

Related Manuals for Smith & Noble Faux Wood Blinds


Summary of Contents for Smith & Noble Faux Wood Blinds
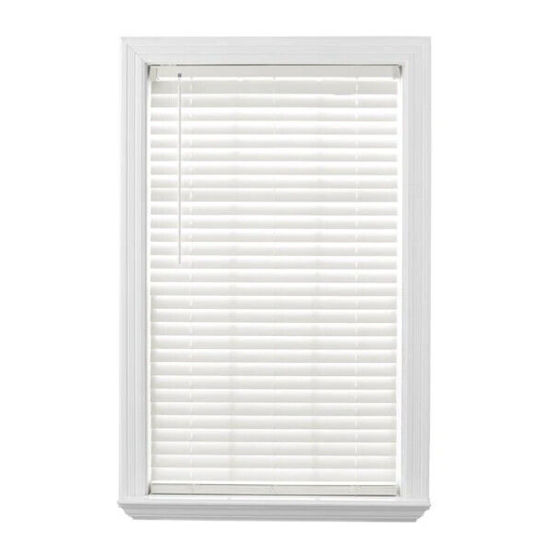
- Page 1 STEP BY STEP INSTALLATION INSTRUCTIONS Faux Wood Blinds Easy Lift Cordless...
-
Page 2: Table Of Contents
Everything Table of Contents You Need Getting Started ........3 Step 1 - Easy Lift Cordless Control . -
Page 3: Step 1 - Getting Started
Step 1 — Parts & Tools Overview Easy Lift Cordless Getting Started CENTER First, make sure you have all the parts and tools required to install your shades. MOUNTING SUPPORT SPACER BRACKETS BRACKET BLOCKS ALL THE HARDWARE YOU’LL NEED: Pencil, screwdriver, ¼” nut driver, level, and a drill with a ⁄... -
Page 4: Step 2 - Mounting The Brackets
Inside Mount Standard DURAWOO Step 2 — Mounting Brackets Step 2 — Mounting Brackets Outside Mount Standard Inside Mount Standard Inside Mount Outside Mount Outside Mount MOUNTING CENTER BRACKET SUPPORT All blinds require two mounting brackets Hold the blind in the desired position BRACKET BLIND WIDTH SUPPORT BRACKET QTY... -
Page 5: Extension Brackets
Step 2 — Mounting Step 4 — Push Button Operation Extension Brackets Push Button Operation (optional) MOUNTING Press the button on the bottom rail to raise EXTENSION BRACKET BRACKET Extension brackets require a 2” flat and lower the blind. surface for mounting. Nuts and bolts Continue to press the button until the blind are provided for attachment. -
Page 6: Step 6 - Attaching The Wand
Step 6 — Attaching the Wand Leveling the Slats Attach Wand Leveling the Slats Slide the plastic sleeve up to expose the Using a flathead screwdriver, place it into ADJUSTMENT SCREWS hook opening. (diag. 1) the slot in the underside of the headrail. Turn it to the right or left depending on which adjustment you need. -
Page 7: Warranty
Warranty Service The enjoyment of your window covering should be everlasting, which is why our products come with a limited lifetime warranty. The warranty applies to the original owner, requires a proof of purchase (hang on to your receipt!) and covers defects in material or craftsmanship. Hardware must have been properly installed.
Need help?
Do you have a question about the Faux Wood Blinds and is the answer not in the manual?
Questions and answers