Advertisement
Advertisement
Table of Contents

Related Manuals for Smith & Noble Rod


Summary of Contents for Smith & Noble Rod
- Page 1 Step by Step Installation Instructions Rod Mounted Valance Wall Mount...
-
Page 2: Table Of Contents
Step 4 - Mounting the Rod and Valance . . . . . . . . . . . . . . . 6 having a smooth installation experience . If you encounter any Care &... -
Page 3: Step 1 - Getting Started (Parts & Tools)
Rod Moun OVERVIEW STEP 1 — PARTS & TOOLS Getting Started Standard Valance Before you begin, check the accompanying diagram to make sure you have all the parts you need . Parts & Tools You’ll need to make sure the surface you intend to install your hardware is sturdy enough to... -
Page 4: Step 2 - Attaching The Brackets
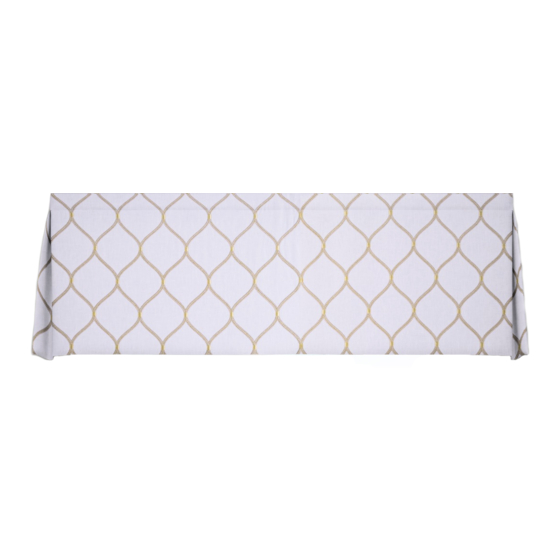
STEP 3 — ATTACHING THE VALANCE TO THE ROD Attaching the Valance to the Rod Start at one end of the rod . Insert the CARE & CLEANING rod into the pocket in the top of the valance . Slide the valance completely onto the rod . -
Page 5: Warranty
Warranty Service The enjoyment of your valance should be everlasting, which is why our products come with a limited lifetime warranty . The warranty applies to the original owner, requires a proof of purchase (hang on to your receipt!) and covers defects in material or craftsmanship . Hardware must have been properly installed .
Need help?
Do you have a question about the Rod and is the answer not in the manual?
Questions and answers