Advertisement
Quick Links
Advertisement

Related Manuals for KOBLE Juno DOJUNN


Summary of Contents for KOBLE Juno DOJUNN
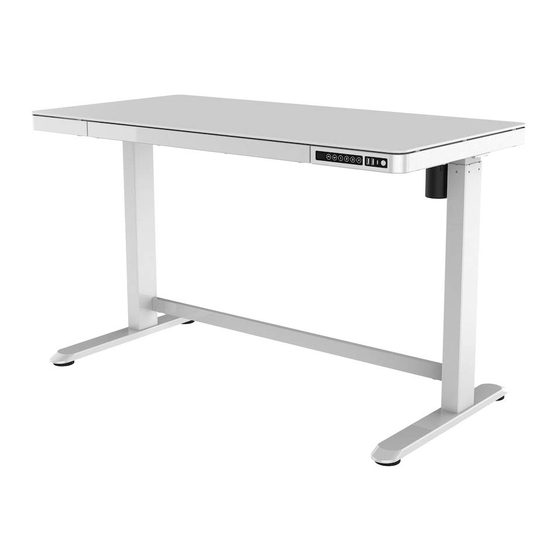
- Page 1 Juno Desk STOCK Ref: DOJUNN/DOJUNW Issue 3 - 31/03/21...
- Page 2 50kg. Power Supply: AC adapter, 100-240V 50/60Hz Service Environment: 0-40°C Wireless Charging: 10W...
- Page 3 Desk top Qty 1 Underframe Qty 1 (DOJUNN: 120*60*1.2cm) (114.9*67.9*8cm) (DOJUNW: 120*60*0.6cm) Feet Qty 2 Power Adaptor Qty 1 (59*6.5cm) (310cm)
- Page 4 Allen Key 5*5 Qty 1 M6 Screw Qty 8 (M6*16mm) M8 Screw Qty 8 (M8*20mm) (5*5*80mm) 3M Cable Clip Qty 2 (17.5*65mm)
- Page 5 STEP 1 Assemble underframe to top using fixings M8 Screw Qty 8 5x5 Qty 1 Shown upside down STEP 2 Assemble feet legs using fixings Note: Ensure the longer sec�ons of the feet are located at the front as shown. M6 Screw Qty 8 Back 5x5 Qty 1...
- Page 6 STEP 3 Connect the Cables Control Box Control Box Adaptor Power Adaptor Route cables through cable tidy clip Cable Clip Fixed...
- Page 7 STEP 4 With help, carefully turn the desk over into it’s final loca�on and connect to a power source.
- Page 8 Height Adjustment/Controls Key bu�on LED Screen Child Lock UP/DOWN Keys Type C Charging Port Memory Keys USB Charging Port Up and DOWN Func�on To raise the desk height, press and hold the key for 1-2 seconds and release, it will rise automa�cally. Press it again un�l the desired height is reached.
-
Page 9: Troubleshooting
Wireless Charging Function Wireless Charging logo If you have a wireless charging compa�ble device, please put the phone on the wireless charging indicator and check if the phone is successfully connected to the charging func�on. If not, move the mobile phone near the logo un�l the connec�on is successful. - Page 10 Important Information 1. Power supply: AC100V-240V, 50/60Hz 2. Service Environment: 0-40°C 3. Unplug the power plug before cleaning, wipe the dust on surface with damp cloth when cleaning. Be careful not to let water drops into the internal parts, or loose the connector. 4.
- Page 11 Email - CS@kobledesigns.com Tel:+ 44 (0)1799 513 466 Address: Koble Designs, 6 The Shires, Shirehill industrial Estate, Saffron Walden, Essex, CB11 3AP This marking indicates that this product should not be disposed with other household wastes. To prevent possible harm to the environment or human health from uncontrolled waste disposal, recycle it responsibly to promote the sustainable reuse of material resources.
Need help?
Do you have a question about the Juno DOJUNN and is the answer not in the manual?
Questions and answers