Advertisement
Quick Links
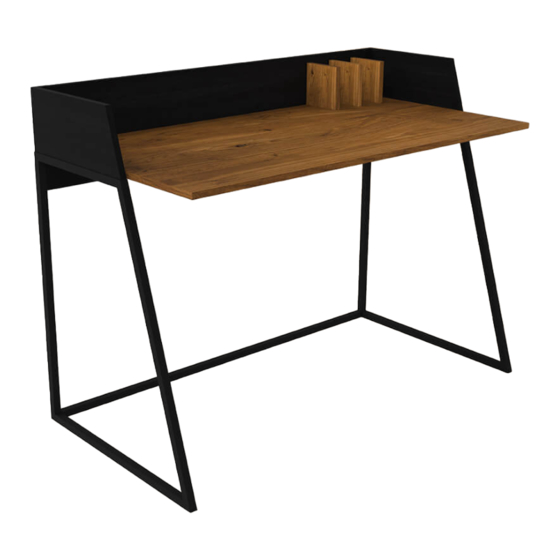
Kennet Smart Desk
Assembly Instructions
Thank you for purchasing the Kennet Desk. In order to make the best use
of this product and to use it safely, please read the manual carefully before use and
keep it for future reference.
STOCK REF. : DOKEN
Imported By: Koble Designs(Justwise Group Ltd). CB11 3AP.
Issue 1-15/12/2021
Advertisement

Related Manuals for KOBLE Kennet


Summary of Contents for KOBLE Kennet
- Page 1 Kennet Smart Desk Assembly Instructions Thank you for purchasing the Kennet Desk. In order to make the best use of this product and to use it safely, please read the manual carefully before use and keep it for future reference.
-
Page 2: Main Components
Main Components Please check you have all the parts listed below Vertical Divider Qty 3 (120x160x18mm) Top Qty 1 (1154x600x18mm) Vertical Side Panel (Left) Qty 1 (160x386x18mm) Vertical Side Panel (Right) Qty 1 Back Panel Qty 1 (160x386x18mm) (1154x279x18mm) Bottom Stretcher Qty1 (1155mm) Leg (Left) Qty 1 Leg (Right) Qty 1... - Page 3 Fixings, Fittings And Tools Please check you have all the parts listed below The quantities below are the correct amount to complete the assembly. In some cases more fittings may be supplied than are required. Wooden Dowel Qty 8 Cam Dowel Qty 8 Cam nut Qty 8 Self Adhesive Sticker Qty 8 M6 Spring Washer Qty 11...
- Page 4 Main Component Diagram Right Left For missing or damaged parts, call our Customer Helpline: 01799 513466 or email cs@kobledesigns.com...
-
Page 5: Assembly Steps
Assembly Steps Step 1 Cam Dowel Qty 8 FRONT Wooden Dowel Qty 8 Plastic Cover Qty 1 Plastic Cover Qty 1 Step 2 Left FRONT BACK Right Shown from behind. Cam nut Qty 8... - Page 6 Assembly Steps Step 3 Use self adhesive stickers to cover fixing holes. Self Adhesive Sticker Qty 8 Step 4 M4 Allen Key Qty 1 M7*50 Screw Qty 10...
- Page 7 Assembly Steps Step 5 BOTTOM Shown on back. M6*16 Allen Screw Qty 8 M4 Allen Key Qty 1 Step 6 Push firmly down IMPORTANT Push wireless charging coil firmly down. Maintain pressure and turn central knob to secure Turn knob to secure UNDERSIDE Shown upside down.
- Page 8 Assembly Steps Step 7 Two people required!! Use Cable Clips to route the power cable as required Route cable Fixed through cable tidy clip Rotate Product Shown from back M6*16 Allen Screw Qty 11 Power Adapter 150cm Qty 1 M6 Spring Washer Qty11 M6 Plain Washer Qty 11 Cable Clips Qty 3 M4 Allen Key Qty 1...
-
Page 9: Technical Specification
Wireless charging function If you have a wireless charging compatible phone, please put the phone on the wireless charging indicator and check if the phone is successfully connected to the charging function. If not, move the mobile phone around the logo until the connection is successful. Some phone cases may inhibit the wireless charging function or it's efficiency. -
Page 10: Troubleshooting
Safety and Care Advice 1.The maximum weight that can be placed on this product is 30KG 2.This product must not be used as a seat. 3. Always use the original AC power adapter and power cable, otherwise it may cause slow wireless charging,In extreme cases,an incompatible AC power adapter may burn out. - Page 11 Email - CS@kobledesigns.com Tel: + 44 (0)1799 513 466 Address: Koble Designs, 6 The Shires, Shirehill industrial Estate, Saffron Walden, Essex, CB11 3AP Purchased from other retailer If you purchased your product from one of our retail partners, please refer back to the retailer directly, for any customer services related issues, refunds or returns requests.
Need help?
Do you have a question about the Kennet and is the answer not in the manual?
Questions and answers