Table of Contents
Advertisement
Quick Links
H-5807
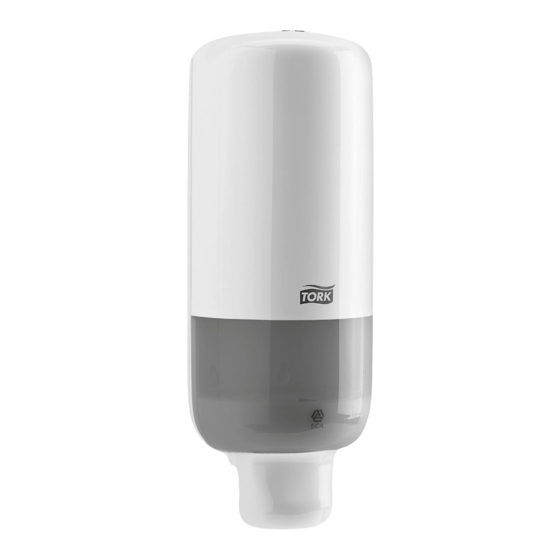
TORK
PLASTIC PUSH
®
FOAM SOAP DISPENSER
TOOLS NEEDED
Drill
1/4" Drill Bit
Dispenser x 1
NOTE: Install dispenser at least 6" above
counter or sink.
1. Tape included template to wall to use as a guide.
Ensure template is level. (See Figure 1)
Figure 1
Template
PAGE 1 OF 4
1-800-295-5510
uline.com
Phillips Screwdriver
Tape Measure
Key x 1
INSTALLATION
6"
Level
PARTS
Wall Anchor x 4
2. Drill four holes using 1/4" drill bit and remove
template from wall. (See Figure 2)
Figure 2
Screw x 4
0422 IH-5807
Advertisement
Table of Contents

Related Manuals for U-Line TORK H-5807


Summary of Contents for U-Line TORK H-5807
- Page 1 H-5807 1-800-295-5510 uline.com TORK PLASTIC PUSH ® FOAM SOAP DISPENSER TOOLS NEEDED Drill 1/4" Drill Bit Phillips Screwdriver Tape Measure Level PARTS Dispenser x 1 Key x 1 Wall Anchor x 4 Screw x 4 INSTALLATION 2. Drill four holes using 1/4" drill bit and remove NOTE: Install dispenser at least 6"...
- Page 2 INSTALLATION CONTINUED 3. Insert anchors and screws. (See Figure 3) 5. Lower dispenser onto screws. (See Figure 5) NOTE: Do not tighten screws completely until Figure 5 step 6. Figure 3 4. Open dispenser and hold up to wall. Align holes over screws.
- Page 3 INSTRUCTIONS CONTINUED 2. Flip refill upside down and load into dispenser with 4. Close cover. (See Figure 10) nozzle down. (See Figure 8) Figure 10 Figure 8 5. Push lever to dispense soap. (See Figure 11) Figure 11 3. Push refill down until it clicks into place. (See Figure 9) Figure 9 PAGE 3 OF 4...
- Page 4 OPENING OPENING USING KEYED OPTION OPENING USING NON-KEYED PUSH BUTTON OPTION Insert key at position A. (See Figure 12) Insert key at position A and rotate counterclockwise to position B. (See Figure 14) Figure 12 Figure 14 2. Turn and hold key clockwise to open dispenser. (See Figure 13) 2.
Need help?
Do you have a question about the TORK H-5807 and is the answer not in the manual?
Questions and answers