Table of Contents
Advertisement
Quick Links
a) Plug in Valve Connectors.
b) Connect Field Devices.
- 2 Wire Switches are wired to COM and SIG.
- 3 Wire Sensors are wired to PWR, COM and SIG.
c) Plug in Battery Connection.
d) Connect Solar Panel.
Step 2 - Setup Security
a) Press instll.
install
c) Enter the default login of 000-0000.
b) Scroll down to the Security menu.
b) Press selct and scroll down until you
5
select
see Operator ID.
d) Press selct and set the desired ID.
5
select
e) Change the Installer ID in the same
manner.
Step 3 - Set Date/Time
a) Press instll and scroll to Date/Time.
install
b) Press selct to enter the menu.
5
select
c) Adjust the Date and/or Time.
d) Set the Daylight savings time option to
on if desired.
Step 1 - Wire Back Panel
a) Press instll and then scroll to Inputs.
b) Enable and con gure any required
devices.
c) Press cncl to back out to the menu.
d) Scroll to Outputs to enable additional
valves in the same manner.
e) Enter the Alarms menu to con gure the
behaviour when failures occur.
f ) Enter Optimize to set the optimization.
Note: Changes to install settings do not
take e ect until the next Close cycle.
a) Press clse or opn to reset the controller
to a given state.
b) The controller will set the valves and the
screen will update to show the current
state and remaining time.
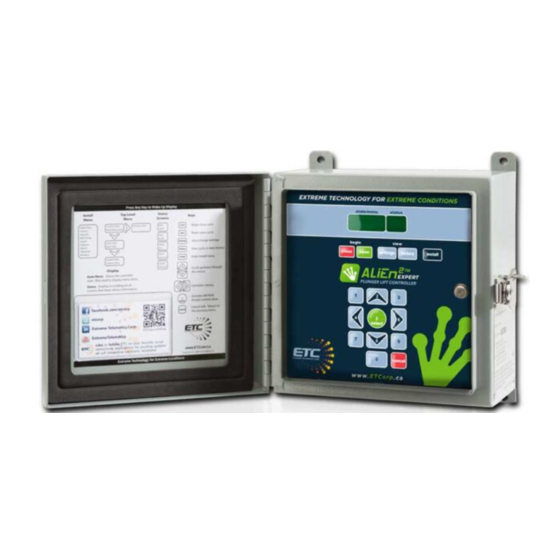
www.ETCorp.ca
Quick Install
Guide
Step 4 - Controller Setup
install
cancel
Step 5 - Start Controller
close
open
PWR
SIG
COM
Advertisement
Table of Contents

Related Manuals for ETC ALiEn2


Summary of Contents for ETC ALiEn2
- Page 1 Quick Install Guide Step 1 - Wire Back Panel a) Plug in Valve Connectors. b) Connect Field Devices. - 2 Wire Switches are wired to COM and SIG. - 3 Wire Sensors are wired to PWR, COM and SIG. c) Plug in Battery Connection. d) Connect Solar Panel.
- Page 2 Quick Tips Changing Timers/Set Points View History a) Press setin. a) Press htry to enter the History menu. settings history b) Use the up/down arrow keys to scroll b) Selct the type of history you wish to see. select through each setting. c) Scroll through each history screen.
Need help?
Do you have a question about the ALiEn2 and is the answer not in the manual?
Questions and answers