
Subscribe to Our Youtube Channel
Related Manuals for ABC Design Primo


Summary of Contents for ABC Design Primo
- Page 1 ABC Design GmbH Article for baby and child Dr. Rudolf-Eberle Str. 29 D - 79774 Albbruck Tel. +49 (0)77539393-0 Email. info@abc-design.de www.abc-design.de...
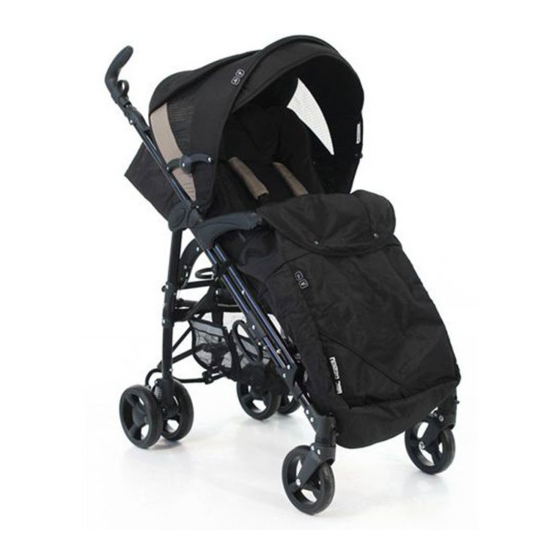
- Page 2 Primo...
-
Page 3: Használati Útmutató
Bedienungsanleitung - DE (01-03) Instructions for use - EN (04-06) Instrucciones de uso - ES (07-09) Instructions de service - FR (10-12) Istruzioni per l’uso - IT (13-15) Gebruikshandleiding - NL (16-18) - PL (19-21) - CZ (22-24) - RU (25-27) Használati útmutató... - Page 5 1. Öffnen des Wagens a. Lösen Sie die Transportsicherung, indem Sie den Hebel nach oben ziehen. Klappen Sie den Wagen auf. b. Schließen Sie die Verriegelung des Wagens, indem Sie die hintere Verstrebung nach unten drücken. WARNUNG: Vergewissern Sie sich vor Gebrauch, dass alle Verriegelungen geschlossen sind.
- Page 6 9. Verstellen der Beinstütze Ziehen Sie die Knöpfe auf beiden Seiten der Beinstütze. Bringen Sie die Beinstütze in die gewünschte Position und lassen die Knöpfe wieder los, damit sie einrastet. 10. Feststellen und Lösen der Schwenkräder Drücken Sie den Hebel zum Feststellen der Räder nach unten. Drücken Sie den Hebel für die Schwenkposition nach oben.
- Page 7 the washing machine (mild detergent). Exposure to such things as salt in the air, road-gritting salt or acid rain will encourage the onset of corrosion, as will inappropriate storage of the product. engaged in position. the product. shortcomings in production conditions. excessive washing, therefore fading cannot be attributed to a fault with the product.
- Page 8 a. Pull the catch up to release the transportation lock. Unfold the pushchair. b. Press the rear strut down to lock the pushchair into its open position. 2. Mounting the front wheels d. Hook the cross bracing into place. Press the lever up to release the brakes. position.
- Page 9 Release the catches on both sides of the leg rest. the new position. Push the lever downwards to lock the wheels. Push the lever upwards for swivel position. 12. Folding the pushchair To do this, push up the hood tensioning levers (1) on both sides and push the hood back (2). b.
- Page 10 suave). necesidad volver a remachar las piezas movibles. mismo. cochecito. de silla ha engatillado correctamente. seguridad. defecto. defecto del producto.
- Page 11 1. Abrir el cochecito Abra el cochecito. d. Enganche las traviesas. prevista.
- Page 12 bien cerrados. ES - 09...
- Page 13 et les resserrer si bien besoin est. FR - 10...
- Page 14 d. Accrochez la traverse. 3. Actionnement des freins Pour serrer les freins, baissez le levier. Pour desserrer les freins, levez le levier. 5. Fermeture du harnais b. Poussez ensuite la capote en avant. FR - 11...
- Page 15 Levez le levier pour la position orientable. du logement. FR - 12...
- Page 16 il prodotto ai raggi solari per tempi prolungati. Scolorimenti, alterazioni di colore e sbiadimenti causati da (detersivo per delicati). elementi mobili. sparso in inverno sulle strade, le piogge acide e la sistemazione in un luogo non adatto, favoriscono la corrosione. subito dopo che si sono sporcate.
- Page 17 1. Apertura della carrozzina Aprire la carrozzina. trasversale. correttamente bloccati. 2. Montaggio delle ruote anteriori b. Per estrarre di nuovo la ruota anteriore, premere il pulsante sull‘attacco della ruota. Per bloccare i freni, premere la levetta verso il basso. 4. Regolare il maniglione Per regolare il maniglione, premere verso il basso la levetta al di sotto del maniglione.
- Page 18 9. Regolazione del poggiagambe Premere i pulsanti che si trovano su entrambi i lati del poggiagambe. Portare il poggiagambe nella posizione desiderata e rilasciare di nuovo i pulsanti, in modo tale che il poggiagambe scatti in posizione. 10. Blocco e sblocco delle ruote piroettanti Spingere verso il basso la levetta per bloccare le ruote.
- Page 19 overtrek van dit artikel is wasbaar. U kunt de overtrek zowel met de hand als in de machine op lage indien nodig opnieuw te worden vastgeklonken. opberging kunnen tot corrosie leiden. lakoppervlakken direct na de verontreiniging te worden schoongemaakt. Veiligheidsinstructies instructies niet in acht neemt, kan de veiligheid van uw kind in het gedrang komen.
- Page 20 Klap de wagen open. b. Sluit de vergrendeling van de wagen door de dwarsstang achteraan naar beneden te drukken. a. Schuif de voorwielen op de houder, tot ze vastklikken. c. Schuif de achterwielen op de houder, tot ze vastklikken. d. Haak de dwarsstang in. Druk de hendel naar beneden om de remmen vast te zetten.
- Page 21 Breng de beensteun in de gewenste positie en laat de knoppen weer los, zodat de beensteun vastklikt. Druk de hendel naar beneden om de wielen vast te zetten. Druk de hendel omhoog voor de zwenkpositie van de wielen. drukken en de beugel vervolgens uit de houder te trekken. a.
- Page 22 - 19...
- Page 23 5. Zapinanie pasa - 20...
- Page 24 zawieszenia. - 21...
- Page 25 na reklamaci. - 22...
- Page 26 - 23...
- Page 27 (2). - 24...
- Page 32 ugranak. - 29...
- Page 33 ugranak. - 30...
- Page 34 - 31...
- Page 35 - 32...
- Page 36 zavrela. - 33...
- Page 39 DE - 01...
Need help?
Do you have a question about the Primo and is the answer not in the manual?
Questions and answers