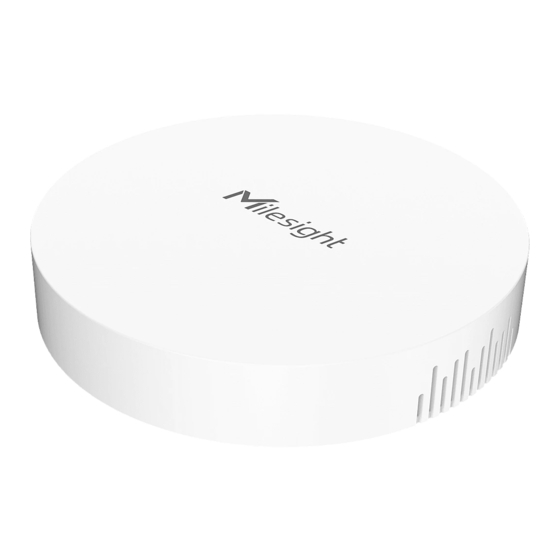
Milesight Mini LoRaWAN UG63 Quick Start Manual
Hide thumbs
Also See for Mini LoRaWAN UG63:
- User manual (84 pages) ,
- Quick start manual (14 pages) ,
- User manual (28 pages)
Table of Contents
Advertisement
Quick Links
Advertisement
Table of Contents

Summary of Contents for Milesight Mini LoRaWAN UG63
- Page 1 Mini LoRaWAN Gateway ® UG63 Quick Start Guide...
- Page 2 Safety Precautions Milesight will not shoulder responsibility for any loss or damage resulting from not following the instructions of this operating guide. The device must not be modeled in any way. Do not place the device close to objects with naked flames.
-
Page 3: Table Of Contents
4. Installation ..............................6 4.1 Desktop ..............................6 4.2 Wall/Ceiling Mounting ......................... 6 5. Login the Web GUI ............................7 6. Network Connection ............................9 7. Packet Forwarder Configuration .........................10 8. Connect UG63 to Milesight IoT Cloud ......................11 9. Connect UG63 to UG65/UG67 ........................13... -
Page 4: Packing List
1. Packing List Before you begin to install the UG63 LoRaWAN ® Gateway, please check the package contents to verify that you have received the items below. 1 × UG63 2 × Wall Mounting Kits 1 × Warranty Card 1 × Type-C Cable & 1 ×... -
Page 5: Dimensions
2.2 Dimensions (mm) 2.3 LED Indicators Indication Status Description The system is starting up System Status Green Light The system is running properly Red Light The system goes wrong Packet Forwarder mode is running off LoRa LoRa Status Green Light Packet Forwarder mode is running well Disconnected or connect failure Link Indicator... -
Page 6: Installation
Note: When connecting, Ethernet cable of UG63 device side should be installed first, otherwise, PoE devices or gateway may be damaged. 4. Installation UG63 supports multiple installation methods like desktop, wall mounting, ceiling mounting, etc. Before you start, make sure that all cables have been installed and configurations are completed. Note: Do not connect device to power supply or other devices when installing. -
Page 7: Login The Web Gui
C. Fix the mounting plate to the wall plugs with screws. D. Turn the device clockwise to lock it to the mounting plate. 5. Login the Web GUI UG63 provides web-based configuration interface for management. If this is the first time you configure the gateway, please use the default settings below: Username: admin Password: password... - Page 8 B. Go to “Properties” → “Internet Protocol Version 4 (TCP/IPv4)” and select “Use the following IP address”, then assign a static IP manually within the same subnet of the gateway. C. Open a Web browser on your PC (Chrome is recommended) and type in the IP address 192.168.23.1 50 to access the web GUI.
-
Page 9: Network Connection
E. After logging the web GUI, you can view system information and perform configuration of the gateway. It’s suggested that you change the password for the sake of security. 6. Network Connection A. Go to “Network” → “Interface” → “Port” page to select the connection type and configure Ethernet port information, click “Save &... -
Page 10: Packet Forwarder Configuration
7. Packet Forwarder Configuration UG63 has pre-installed multiple packet forwarders including Semtech UDP Packet Forwarder, Chirpstack-Generic MQTT broker, LoRa Basic Station, etc. This section explains how to connect the gateway to network servers. Make sure the gateway connects to the network as shown in Section A. -
Page 11: Connect Ug63 To Milesight Iot Cloud
E. Go to “Traffic” page to view the data communication of UG63. 8. Connect UG63 to Milesight IoT Cloud UG63 can connect to Milesight IoT Cloud to manage Milesight product’s data. Due to the limitation of memory, it’s suggested to bind not more than 20 devices. - Page 12 A. Ensure the gateway has access to the Internet and is able to ping the domain of Milesight IoT Cloud. B. Go to “Packet Forwarder” → “General” page to enable the embedded network server. C. Go to “Packet Forwarder” → “Radio” page to select the center frequency and channels. The channels...
-
Page 13: Connect Ug63 To Ug65/Ug67
D. Go to “Network Server” → “General” page to enable the network server and “Milesight IoT Cloud” mode. E. Log in the Milesight IoT Cloud. Then go to “My Devices” page and click “+New Devices” to add gateway to Milesight IoT Cloud via SN. Gateway will be added under “Gateways” menu item. - Page 14 A. Go to “Packet Forwarder” → “General” page to enable the “Remote Embedded NS” and fill in the main gateway IP address which can reach. B. Go to “Network Server” → “Gateway Fleet” page of UG65/UG67 to add the gateway ID of UG63 gateway and define a name, then save the settings.


Need help?
Do you have a question about the Mini LoRaWAN UG63 and is the answer not in the manual?
Questions and answers