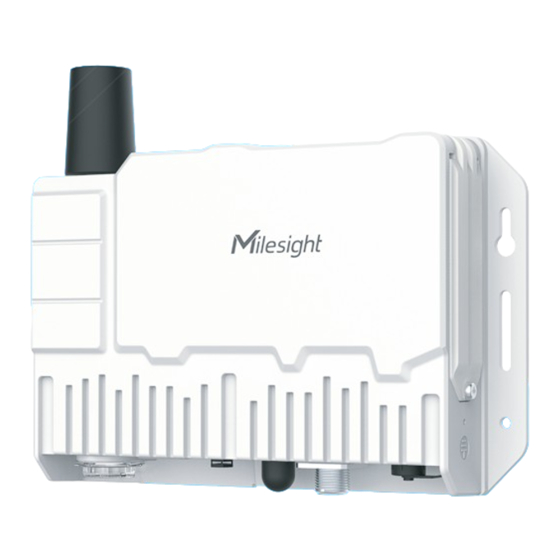
Summary of Contents for Milesight SG50
- Page 1 Ultra Low Power Solar Gateway Quick Start Guide All software & files can be downloaded from https://www.milesight.com/iot/resources/download-center/#documents SG50 Milesight IoT Co., Ltd. www.milesight.com...
-
Page 2: Table Of Contents
Content 1. Packing List…………………………………………………………….......... 2. Hardware Introduction……………………………………………………....….... 3. SIM Card Installation……………………………………………........... 4. Power Supply……………………............……....5. Installation………………………............…....6. Web GUI Access………………………………............…... 7. FCC Statement………………………………............…..1 3 1... -
Page 3: Packing List
1. Packing List 2. Hardware Introduction LED Area Wi-Fi Antenna DC Power Connector 1 × SG50 Device 1 × Battery Pack 1 × SIM Card Ejector Tool SIM Slot Type-C Button Vent Plug LoRaWAN® Antenna Connector 1 × LoRaWAN® Antenna 1 ×... -
Page 4: Sim Card Installation
2. Rotate back the cover and tighten it with a wrench to prevent water from entering the device. 4. Power Supply SG50 can be powered by either a 12-24 VDC external supply or solar panel. I n the meantime, the internal battery pack will also be charged. When the external supply Note:... -
Page 5: Installation
Bracket Pole Mounting Straighten the hose clamps and slide them through the rectangular rings in the mounting bracket. Wrap the hose clamps around the pole, then use a screwdriver to tighten the locking mechanism by turning it clockwise. 5. Installation Bracket Wall Mounting Drill 4 holes on the wall according to the mounting bracket and insert the wall plugs into these holes. - Page 6 2. Hang the solar panel bracket onto the mounting bracket and fix both parts using 2 fixing screws first. Adjust the angle of the solar panel bracket (15°, 45°, and 75° is optional) based on the installation environment. Then fix the remaining two screws to the solar panel bracket. 15°...
-
Page 7: Web Gui Access
U-bolt around the pole and fix the clamp with nuts and other accessories. 6. Web GUI Access SG50 provides a web-based configuration interface for management. If it is the first time you configure the device, please use the default settings listed below: Wi-Fi SSID: Gateway_XXXXXX Wi-Fi IP Address: 192.168.23.1... -
Page 8: Fcc Statement
7. FCC Statement Any changes or modifications not expressly approved by the party responsible for compliance could void the user’s authority to operate the equipment. This device complies with part 15 of the FCC Rules. Operation is subject to the following two conditions: (1) This device may not cause harmful interference, and.


Need help?
Do you have a question about the SG50 and is the answer not in the manual?
Questions and answers