Advertisement
Quick Links
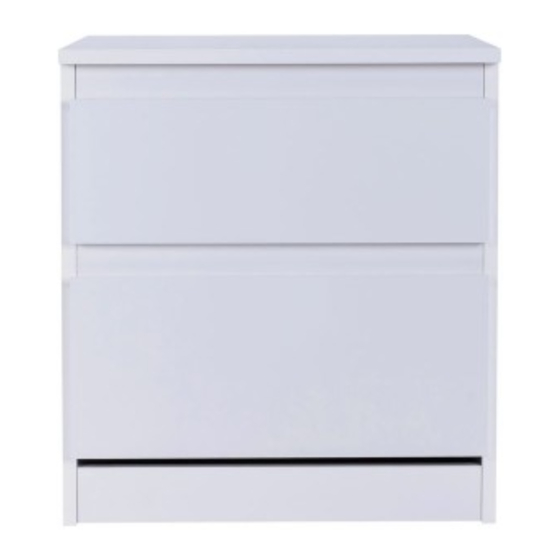
Hamlin - Bedside
Assembly Instructions
h y g e n a
Dimensions
Width - 45,2cm
Depth - 44,8cm
Height - 50,5cm
Important –
Please read these instructions fully before starting assembly
If you need help or have damaged or missing parts, call the
- Please keep for future reference
Customer Helpline: 08456 400 800
143/4235
152/5230
145/6103
Issue 1 - 28/10/13
Advertisement

Related Manuals for Argos hygena Hamlin 143/4235


Summary of Contents for Argos hygena Hamlin 143/4235
- Page 1 Hamlin - Bedside Assembly Instructions - Please keep for future reference 143/4235 152/5230 h y g e n a 145/6103 Dimensions Width - 45,2cm Depth - 44,8cm Height - 50,5cm Important – Please read these instructions fully before starting assembly If you need help or have damaged or missing parts, call the Customer Helpline: 08456 400 800 Issue 1 - 28/10/13...
- Page 2 Safety and Care Advice Important – Please read these instructions fully before starting assembly Check you have all the Do not stand or put weight on We do not components and tools listed on the product, this could cause recommend the pages 2 and 3.
- Page 3 Components - Panels Please check you have all the panels listed below 6 Small drawer front 5 Large drawer front (43 x 15cm) (43 x 19cm) 1 Top panel (45.2 x 44.8cm) 8 Small drawer back 7 Large drawer back (36.6 x 8cm) (36.6 x 12cm) 9 Large drawer right...
- Page 4 Components - Fittings If you have damaged or missing components, call the Customer Helpline: 08456 400 800 Please check you have all the fittings listed below Note: The quantities below are the correct amount to complete the assembly. In some cases more fittings may be supplied than are required.
- Page 5 Assembly Instructions Step 1 Insert dowels into the indicated parts.
- Page 6 Assembly Instructions Step 2 Fixing runners. Attach right runners to the pre drilled holes on the right side panel using screws Attach left runners to the pre drilled holes on the left side panel using screws Step 3 Fitting Metal dowels. Screw metal dowels into top panel , large...
- Page 7 Assembly Instructions Step 4 Unfinished side Fixing L shaped brackets. Fix L shaped brackets in the bottom frame and unfinished bottom frame using screws , a s shown. Attention: Attention: Leave space from the edge of the bars as shown. L shaped brackets must be fixed to the unfinished side in bottom frame...
- Page 8 Assembly Instructions Step 7 Fixing top panel. i s h With help, carefully F i n stand the product upright. With help, fit top panel to the cabinet. Insert 4 locking nuts into side panels where shown. Use a screwdriver to turn locking nuts clockwise to lock.
- Page 9 Assembly Instructions Step 9 Attach plastic feets. With help, carefully lay down the product. Attach p lastic feets the bottom edge of the right and left side panels using nails Make sure nails are fully nailed. After attach plastic feets, with help, carefully stand the product upright.
- Page 10 Assembly Instructions Step 11 Small drawer assembly. Fix small drawer sides to the small drawer back using screws Slide drawer bottom into slots on drawer sides. With help, fit small drawer front to the drawer sides. Insert 2 locking nuts into drawer sides where shown.
- Page 11 Assembly Instructions Step 13 Correct position of the screws. Fixing runners. Attach right runners and left runners in the bottom edge of the large and small drawers using screws , as shown. Make sure runners are correctly positioned according to the diagram IN FLUSH prior to fixing.
Need help?
Do you have a question about the hygena Hamlin 143/4235 and is the answer not in the manual?
Questions and answers