Advertisement
Quick Links
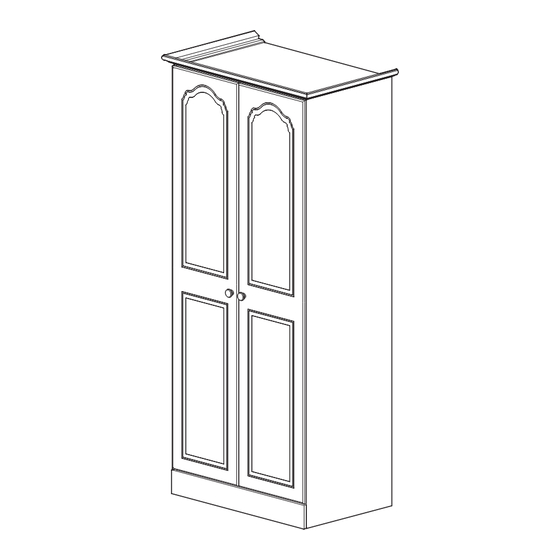
Stratford White - 2 Door Wardrobe
Assembly Instructions
144/4878
- Please keep for future reference
Dimensions
Width - 87cm
Depth - 55.1cm
Height - 195.2cm
Important
– Please read these instructions fully before starting assembly
If you need help or have damaged or missing parts, call the Customer Helpline: 0345 6403030
BK00760 - Issue 1 - 17/07/2014
Advertisement

Related Manuals for Argos Stratford White


Summary of Contents for Argos Stratford White
- Page 1 Stratford White - 2 Door Wardrobe Assembly Instructions 144/4878 - Please keep for future reference Dimensions Width - 87cm Depth - 55.1cm Height - 195.2cm Important – Please read these instructions fully before starting assembly If you need help or have damaged or missing parts, call the Customer Helpline: 0345 6403030...
- Page 2 Safety and Care Advice Important – Please read these instructions fully before starting assembly • Check you have all the • Assemble on a soft level • We do not components and tools listed on surface to avoid damaging the recommend the pages 2 and 3.
- Page 3 If you have damaged or missing components, Components - Panels 0345 6403030 call the Customer Helpline: Please check you have all the panels listed below Cornice front section (87 x 7cm) LH cornice return (55.5 x 7cm) RH cornice return (55.5 x 7cm) Assembled wardrobe (191 x 80 x 53.1cm)
- Page 4 Components - Fittings Please check you have all the fi ttings listed below Note: The quantities below are the correct amount to complete the assembly. In some cases more fi ttings may be supplied than are required. 9mm Dovetail Jointer x 2 20mm Dovetail Jointer x 2 20mm Cornice screw x 7 15mm Washer x 2...
- Page 5 Assembly Instructions Step 1 WARNING: Help may be required for this step. Remove and replace handle Position the unit in the required position. The white ceramic handles are fi tted to the inside of the unit, using a Philips screwdriver unscrew the 20mm handle screws in Philips screwdriver each handle and remove...
- Page 6 Assembly Instructions Step 2 Assemble Cornice Work on a fl at clean surface . Position the RH cornice return the cornice front section together to make a corner and press the 20mm dovetail jointer curved edge fi rst into Small hammer the deepest slot made by the two sections and the 9mm dovetail...
- Page 7 Assembly Instructions Step 3 Fixing to wall It is recommended that the wardrobe is fi xed to a wall Fix wall strap to the top of wardrobe using 15mm screw 15mm washer Using the correct type of screw screw through the washer and wall Warning: The strap into a pre-drilled hole in the 15mm screw...
- Page 8 Customer Helpline: 0345 6403030 If you need help or have damaged or missing parts, call the...
Need help?
Do you have a question about the Stratford White and is the answer not in the manual?
Questions and answers