Table of Contents
Advertisement
Quick Links
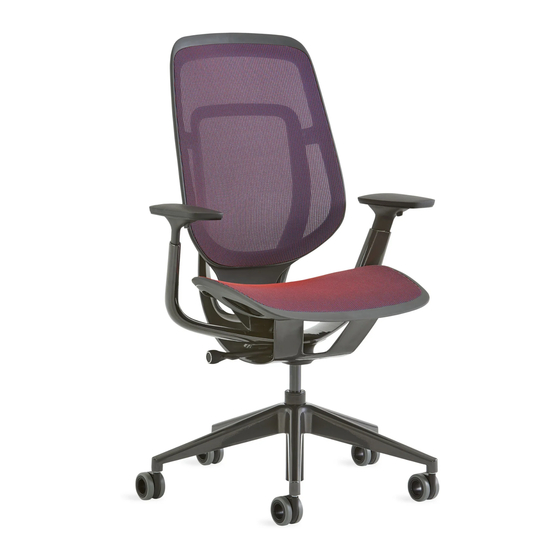
Removal and Installation of Back Assembly on
®
Steelcase Karman
™
Chair
T-20 & T-30
TORX BIT
If you have a problem, question, or request, call
your local dealer, or Steelcase Line 1 at
888.STEELCASE (888.783.3522)
for immediate action by people who want to help you.
(Outside the U.S.A., Canada, Mexico, Puerto Rico,
and the U.S. Virgin Islands, call: 1.616.247.2500)
Or visit our website: www.steelcase.com
©
2020 Steelcase Inc.
Grand Rapids, MI 49501
Page 1 of 5
U.S.A.
Doc # 157344 Rev B
Printed in U.S.A.
Advertisement
Table of Contents

Related Manuals for Steelcase Karman


Summary of Contents for Steelcase Karman
- Page 1 T-20 & T-30 TORX BIT If you have a problem, question, or request, call your local dealer, or Steelcase Line 1 at 888.STEELCASE (888.783.3522) for immediate action by people who want to help you. (Outside the U.S.A., Canada, Mexico, Puerto Rico, and the U.S.
- Page 2 ® Locate seat screws (1a). NOTE: These screws are accessed though the windows in the seat shell, from the side of the seat. Use extension and T-20 torx bit to remove four (4) screws from under seat (1b). NOTE: It’s helpful to push the seat cushion to one side and remove the two (2) screws on the opposite side.
- Page 3 ® Use T-30 torx bit to remove two (2) screws from under-seat plate. Gently lift the under-seat plate (4a) and rotate the bottom of the back assembly out of the way (4b). NOTE: It is not necessary to completely remove the under-seat plate. Use T-20 torx bit to remove the two (2) screws from the top of the back.
- Page 4 ® Align the tab on the new back assembly with the slot in the back frame. Clip together (7a) and slide into position (7b) on each side. Install one side at a time. Use T-20 torx bit to install the two (2) screws on top of the back.
- Page 5 ® Align holes in seat with tabs (10a), then rotate into position (10b). Use extension and T-20 torx bit to replace the four (4) screws that were removed in Step 1. Do not overtighten. NOTE: Arms removed for clarity. Page 5 of 5 Doc # 157344 Rev B...
Need help?
Do you have a question about the Karman and is the answer not in the manual?
Questions and answers