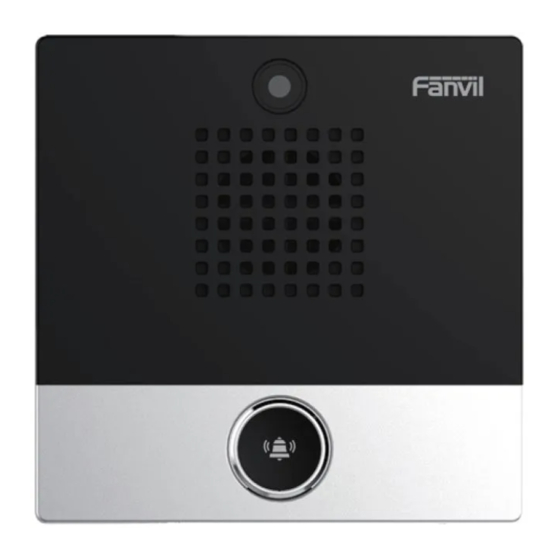
Summary of Contents for Fanvil i10S
- Page 1 SIP Mini Intercom Quick Installation Guide i10S i10SV i10SD www.fanvil.com...
- Page 2 1. Package Contents Mini Intercom Connector Mounting dimensions Unit:MM i10S/i10SV/i10SD SIP Mini Intercom Quick Installation Guide Quick Installation Mounting Guide Template i10S i10SV i10SD www.fanvil.com Screw and tool 2. Physical specification Device size 88 x 88 x 32 mm i10S...
- Page 3 2) Interface description Open the rear case of the device, there is a row of terminal blocks for connecting the power supply, indoor switch. The connection is as follows: Serial Description number Ethernet interface: standard ① RJ45 interface, 10/100M adaptive, ①...
- Page 4 Fanvil Technology Co., Ltd Website: www.fanvil.com EMail: sales@fanvil.com support@fanvil.com Tel: +86-755-2640-2199 Fax: +86-755-2640-2618 Add: 10/F Block A, Dualshine Global Science Innovation Center, Honglang North 2nd Road, Bao'an District, Shenzhen, China...
- Page 5 Cover the cover removed in step 2; 4. Searching device Methods 1: Download address: http://download.fanvil.com/tool/iDoorPhoneNetworkScanner.exe Open the iDoorPhone Network Scanner. Press the Refresh button to search the device and find the IP address. Method 2: Long press DSS key for 3 seconds(after power-on for 30 seconds), and when the speaker beeps rapidly, press DSS key again quickly, the beeps stop ,the intercom will report the IP address by itself.
- Page 6 Method 3: In addition, device provides the device surface DSS key operation to switch IP address acquisition mode: In the standby mode, long-press the DSS key for 3 seconds and the beep will last for 5 seconds. Within 5 seconds, press the DSS key three times quickly to switch to the network mode.
- Page 7 Step 2: Set SIP account Set SIP server address, port, user name, password and SIP user with assigned SIP account parameters. Select “Activate”, and then click [Apply] to save this setting. Step 3: Set the volume (if not connected can skip) Intercom settings =>...
- Page 8 Step 4: Set function key (if not connected can skip) Set the function key as shown below for a quick start, click [Apply] to save this settings. Type: Memory key Number 1 (Value): the function key will dial to this number 1 Number 2 (Value 2): if number 1 is unavailable, it will be forwarded to number 2.


Need help?
Do you have a question about the i10S and is the answer not in the manual?
Questions and answers