
Related Manuals for Ender Ender-3 S1 Pro


Summary of Contents for Ender Ender-3 S1 Pro
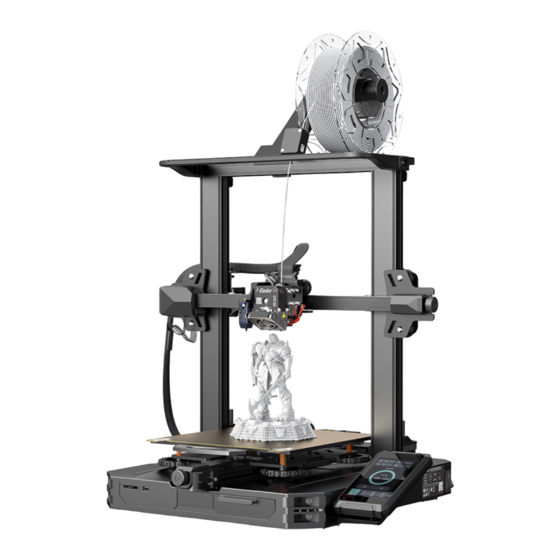
- Page 1 3D Printer User Manual Ender-3 S1 Pro To further improve your user experience, you can find more about our devices via the following methods: V1.0 User manual: Please find instructions and videos in the SD card provided with the printer.
-
Page 2: List Of Main Parts
1 Instructions for Use Do not use this printer by methods or operations not described in this manual, otherwise it may result in accidental injury or property damage. Do not place this printer near flammable materials, explosive materials or high heat sources. Please place this printer in a ventilated, cool and low-dust environment. - Page 3 M5x45 Socket Head M4x30 Hexagon Flat M3x6 Hexagon Z-Axis Limit Switch Kit Cap Screw with Spring Round Head Screw x 3 Socket Head Cap Washer x 4 Screw x 5 Note: The components above are for reference only. The actual product may vary. 4 Printer Port Instructions 4.1 Mainboard Port Instructions Memory Card Slot...
-
Page 4: Install The Printer
5 Install the Printer 5.1 Install the nozzle module and wire clamp A.Place the nozzle module on the back of the extruder, pre-lock the nozzle with 4 M3x6 hexagon socket head cap screw, and then tighten it. B.Clamp the wire clamp onto the X motor black plate. 5.2 Install the gantry A.Move the right profile of the bottom module 35 mm out of the desktop to reveal the installation hole. - Page 5 5.3 Install the screen Place the screen bracket to the side of the plastic that’s on the right, and tighten it with 3 M4x30 hexagon flat round head screws. 5.4 Install the rack A.Find the filament tube fittings and fix the threaded end on the right end of the rack. B.Fit the front slot of the installed rack to the front slot of the profile, and then press down to clamp the bottom of the profile.
-
Page 6: Auto Leveling
1.Connect the nozzle to the 24-pin port as shown in the figure. 2.Follow the yellow label on the 6-pin (4 wires) port to connect the X-axis and Z-axis stepper motors. 3.Connect the X-axis limit motor according to the yellow label on the 3pin (2 wires) port. 4.Connect the 3-pin (3 wires) 2.0 port to the pinboard, and connect the 3-pin (3 wires) 2.54 port to the filament detector. -
Page 7: Assisted Leveling
2.Return to the previous menu. Enter the assisted leveling interface. Adjust the Z-axis compensation value so that the height from the nozzle to the printing platform is about the thickness of a piece of A4 paper. Return to the previous menu, and the Z-axis compensation value will be configured. -2.30 The gap is about the thickness of a piece of A4 paper, and there is... -
Page 8: Loading The Filament
2.Turn the knob at the bottom of the hotbed and move the nozzle to the four corners of the printing platform so that the gap between the nozzle and the printing platform is almost the thickness of a piece of A4 paper (0.08 to 0.1 mm). Ensure that all the four corners are leveled. The nozzle is too far away from the platform, and the filaments cannot stick to the platform. -
Page 9: First Printing
2.Go to Preferences → Configure Creality → Select and install the software, or install the language → Next → Finish to complete the configuration. Creality software via the memory card provided with the printer. 3.Select the model of this printer Enter parameters → Close. (ENDER-3 S1 Pro). -
Page 10: Start Printing
Load Creality Slicer Launch the Creality Load the file. 7.Select the file slicing software. 9.Insert the memory card → Print 8.Generate the G-code file → Save → Select from the menu → Select the it to the memory card. file used for printing. Note: For details on using the software please The file name must only contain Latin letters refer to the slicing software user manual on... -
Page 11: About The Printer
Tap “Print". Select the file. 11 About the Printer X-Axis Limit Switch Tool Kit Y-Axis Limit Switch Nozzle Module Display Screen Voltage Toggle Switch Auto Leveling Module X-Axis Belt Adjustment Device Y-Axis Motor Printing Platform Coupling Filament Detector Memory Card Slot Rack X-Axis Motor Type-C Port... -
Page 12: Device Specifications
12 Device Specifications General Specifications Model Ender-3 S1 Pro Modeling Dimensions 220 mm x 220 mm x 270 mm Modeling Technology Number of Nozzles Slice Layer Height 0.1 to 0.4 mm Nozzle Diameter 0.4 mm (standard) Accuracy ±0.2mm Printing Material...
Need help?
Do you have a question about the Ender-3 S1 Pro and is the answer not in the manual?
Questions and answers