
Related Manuals for Ender 3 S1 Plus


Summary of Contents for Ender 3 S1 Plus
- Page 1 3D Printer User Manual Ender-3 S1 Plus For a better experience in using our product, you can also learn how to use the Printer in the following ways: View V1.2 the accompanied instructions and videos in the Storage card.
-
Page 2: Parts List
1 Notes Do not use the printer any way other than described herein in order to avoid personal injury or property damage. Do not place the printer near any heat source or flammable or explosive objects. We suggest placing it in a well-ventilated, low-dust environment. Do not expose the printer to violent vibration or any unstable environment, as this may cause poor print quality. -
Page 3: Interface Descriptions
Hexagon socket flat Hexagon socket Hexagon socket head 8-10 open-end round head screw head cap screw spring washer combination spanners ×1 M4x18 X4 M3x6 X5 screw M5x45 X5 Tips: the above accessories are for reference only, in kind prevail! 4 Interface Descriptions 4.1 Description of Mainboard interfaces and Connections 30P Flexible Flat 10P Flexible Flat... -
Page 4: Product Installation
5 Product installation 5.1 Nozzle assembly and wire clamp installation Place the nozzle assembly on the mounting back panel of the extruder, pre-lock with four M3x6 hexagon socket head cap screw, and then tighten to fix it. Clip the wire clamp to the back panel of the X-axis motor. 5.2 Gantry frame installation Firstly, move X axis to the bottom, and then place the gantry in the base slot and pre-lock the mounting holes by 2 M5x45 hexagon socket head cap screws with spring washers from the side against the mounting holes. - Page 5 5.3 Display installation Place the display bracket on the side of the right profile, and tighten it with three M4X18 hexagon flat round head screws. Align the pins on the back of the display with the large holes of the display bracket and insert them, and then slide down to tighten it.
- Page 6 Connect the nozzle to the 24pin port as shown in the figure. Connect the X and Z axis stepper motors according to the yellow label on 6pin (4 wires) port. Connect the X-axis limit switch as indicated by the yellow label on the 3pin (2 wires) port. Connect 3pin (3 wires) 2.0 port to the keysets, and 3pin (3 wires) 2.54 port to the filament detector.
-
Page 7: Assisted Leveling
6 Assisted Leveling Go to Settings → Leveling → Assisted Leveling. Tap numbers ①/②/③/④/⑤ respectively. -2.30 Turn the knob at the bottom of the hotbed and move the nozzle to the four corners of the printing platform so that the gap between the nozzle and the printing platform is almost the thickness of a piece of A4 paper (0.08 to 0.1 mm). -
Page 8: Loading The Filament
2.Return to the previous menu. Enter the assisted leveling interface. Adjust the Z-axis compensation value so that the height from the nozzle to the printing platform is about the thickness of a piece of A4 paper. Return to the previous menu, and the Z-axis compensation value will be configured. -2.30 The gap is about the thickness of a piece of A4 paper, and there is... - Page 9 Select Preferences in sequence → Configure Creality → Next → Select corresponding language → Next → Finish to complete the setting. Plus S1 Plus Plus Plus Select Printer (Ender-3 S1 Plus) Enter the corresponding parameters → Close Load Creality Slicer Load File Open Creality Slicer...
-
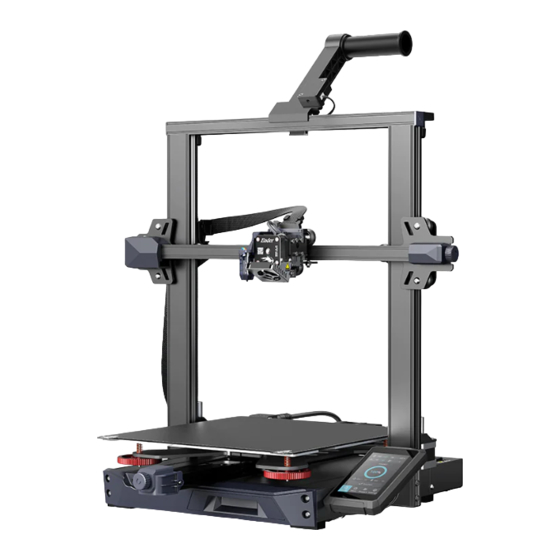
Page 10: Equipment Introduction
Creality Ender-3 S1 Plus Insert the memory card → Select "Print" Generate G code → Save to memory card → Select the file to print→ Select "Start Printing" It is important to note file name within the memory card must Reminder: Please refer to user manual within the provided be in Latin letters or numbers. - Page 11 The actual product may be different from the picture due to different models. Please refer to the actual product. Shenzhen Creality 3D Technology Co., Ltd. reserves the right of final interpretation. S HEN ZHEN C R EA L ITY 3 D T E CH N OL OG Y CO. , L T D. 18F, JinXiuHongDu Building, Meilong Blvd., Longhua Dist., Shenzhen, China 518131 Official Website: www.creality.com Tel: +86 755-8523 4565...
Need help?
Do you have a question about the 3 S1 Plus and is the answer not in the manual?
Questions and answers
whats the pin code from the ed printer ender3 s1 plus