Sign In
Upload
Download
Table of Contents
Contents
Add to my manuals
Delete from my manuals
Share
URL of this page:
HTML Link:
Bookmark this page
Add
Manual will be automatically added to "My Manuals"
Print this page
×
Bookmark added
×
Added to my manuals
Manuals
Brands
Modern Flames Manuals
Indoor Fireplace
OR52-SLIM
Owner's manual
Modern Flames OR52-SLIM Owner's Manual
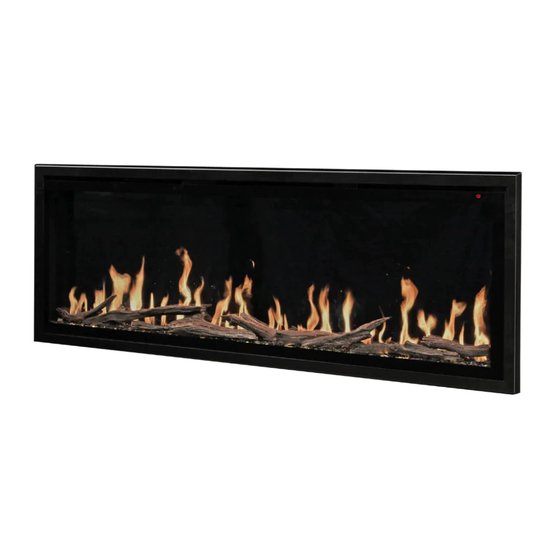
Orion slim wall-mount/recessed electric fireplace
Hide thumbs
1
2
3
Table Of Contents
4
5
6
7
8
9
10
11
12
13
14
15
16
17
18
19
20
21
22
23
24
25
26
27
28
29
30
31
32
33
34
35
36
37
38
39
40
41
page
of
41
Go
/
41
Contents
Table of Contents
Bookmarks
Table of Contents
Table of Contents
Preparation
Parts and Hardware
Dimensions and Specifications
Product Dimensions
Installation and Assembly
Front Glass Removal/Installation
Wall Recessed Framing
Finished Opening Dimensions
Wall Recessed Installation
Wall Mounted Installation
Hardwiring Installation
Driftwood Logs and Crushed Glass Installation
Operation
Power
Master Power Switch
Methods of Operation
Operation - Touch Control Panel
Operation - Remote Control
Smart Phone App
Wi-Fi - Initial Log-In
Add Manually
Auto Scan
Operation - Smart Phone App
Operation - Important Warnings
Remote Control Battery Information
Temperature Limiting Control
Care - Cleaning
Care - Maintenance
Electrical and Moving Parts
Storage
Replacement Parts List
Troubleshooting / Faq
Advertisement
Quick Links
1
Installation and Assembly
2
Operation
3
Operation - Remote Control
4
Replacement Parts List
5
Troubleshooting / Faq
Download this manual
ORION SLIM WALL-MOUNT/RECESSED ELECTRIC FIREPLACE
Model #: .... OR52-SLIM ... OR60-SLIM .... OR76-SLIM .... OR100-SLIM
OWNER'S MANUAL
AC 120V 60Hz 1465W (5000BTUs)
Table of
Contents
Previous
Page
Next
Page
1
2
3
4
5
Advertisement
Table of Contents
Need help?
Do you have a question about the OR52-SLIM and is the answer not in the manual?
Ask a question
Questions and answers
Related Manuals for Modern Flames OR52-SLIM
Indoor Fireplace Modern Flames OR60-SLIM Owner's Manual
Orion slim wall-mount/recessed electric fireplace (41 pages)
Indoor Fireplace Modern Flames OR76-SLIM Owner's Manual
Orion slim wall-mount/recessed electric fireplace (41 pages)
Indoor Fireplace Modern Flames OR52-MUTLI Owner's Manual
Ac 120v 60hz 1,465w (49 pages)
Indoor Fireplace Modern Flames ORION OR52-MULTI Owner's Manual
Multi built-in or wall-mount fireplace (49 pages)
Indoor Fireplace Modern Flames OR30-MULTI-INT Owner's Manual
Orion multi built-in or wall-mount fireplace (49 pages)
Indoor Fireplace Modern Flames OR30-SLIM-INT Owner's Manual
(42 pages)
Indoor Fireplace Modern Flames ORION OR26-TRAD Installation Manual
Traditional built-in or insert fireplace (44 pages)
Indoor Fireplace Modern Flames ORION OR36-TRAD Installation Manual
Traditional built-in or insert fireplace (44 pages)
Indoor Fireplace Modern Flames ORION OR42-TRAD Installation Manual
Traditional built-in or insert fireplace (44 pages)
Indoor Fireplace Modern Flames AFWS Series Owner's And Installation Manual
Allwood fireplace media wall system (24 pages)
Indoor Fireplace Modern Flames OR26-TRAD-INT Installation Manual
(44 pages)
Indoor Fireplace Modern Flames Landscape Pro Slim LPS-5614V2 Installation Manual
(37 pages)
Indoor Fireplace Modern Flames Landscape Pro Slim LPS-4414V2 Owner's Manual
(31 pages)
Indoor Fireplace Modern Flames Landscape Pro Slim Series Installation & Owner's Manual
(16 pages)
Indoor Fireplace Modern Flames RS-2621 Owner's Manual
(24 pages)
Indoor Fireplace Modern Flames AL45CLX Installation & Service Instructions Manual
Ambiance clx electric series (20 pages)
This manual is also suitable for:
Or60-slim
Or76-slim
Or100-slim
Table of Contents
Print
Rename the bookmark
Delete bookmark?
Delete from my manuals?
Login
Sign In
OR
Sign in with Facebook
Sign in with Google
Upload manual
Upload from disk
Upload from URL


Need help?
Do you have a question about the OR52-SLIM and is the answer not in the manual?
Questions and answers