Advertisement
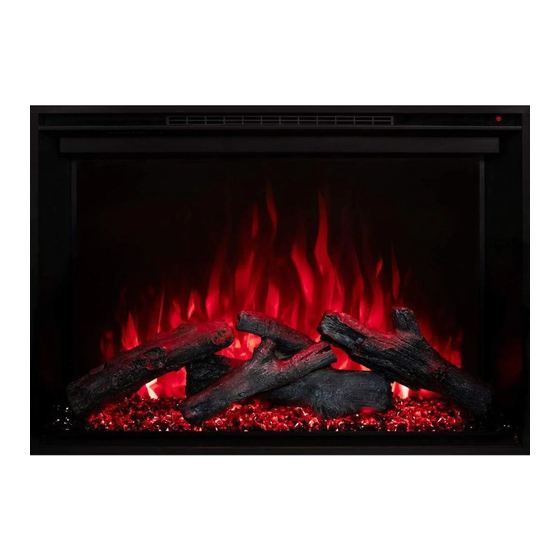
Redstone Built-in (or Insert) Electric Fireplace
Model#:
WARNING
CAUTION
AFFIX SERIAL NUMBER LABEL HERE
FOR FUTURE REFERENCE
RS-2621
RS-5435
OWNER'S MANUAL
AC 120V 60Hz 1465W (5000BTUs)
Read and understand this entire owner's manual, including all safety
information, before plugging in or using this product. Failure to do so could
result in fire, electric shock, or serious personal injury.
Keep this owner's manual for future reference. If you sell or give this
product away, make sure this manual accompanies this product.
RS-3021
RS-3626
RS-4229
Advertisement
Table of Contents


Need help?
Do you have a question about the RS-2621 and is the answer not in the manual?
Questions and answers