Advertisement
Advertisement
Table of Contents

Related Manuals for Atlantic Vertigo 30


Summary of Contents for Atlantic Vertigo 30
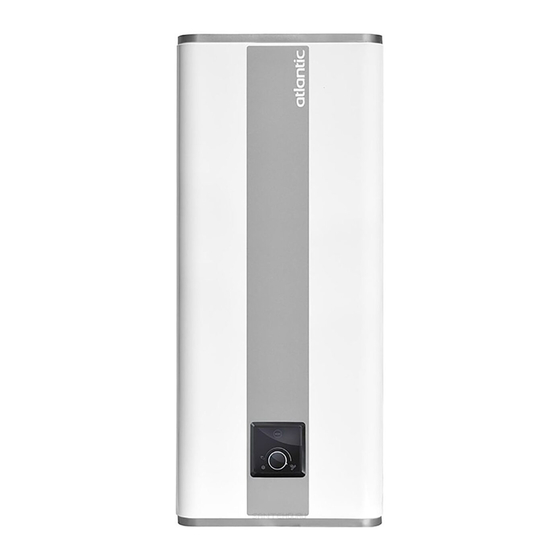
- Page 1 Vertigo Water Heater DOCUMENTATION FOR INSTALLATION AND OPERATION IMPORTANT: For Vertical or Horizontal installation remove hex head screws at the rear of the unit and replace with the countersunk socket screws provided. INDOOR INSTALLATION ONLY Refer to full warranty conditions on pages 10 and 11...
- Page 2 INSTALLATION AND OPERATION SET UP WARNING This device is not intended for use by persons (including children) with physical, sensory or mental disability, or by persons lacking experience or knowledge, unless they have received from a person in charge of their safety adequate supervision or preliminary instructions on how to use the device.
- Page 3 WALL MOUNTED INSTALLATION GUIDES IMPORTANT: REMOVE HEX HEAD SCREWS FROM BACK OF UNIT AND REPLACE WITH COUNTERSUNK SOCKET SCREWS PROVIDED a. Vertical Wall Mounting Guide...
-
Page 4: Installation
There are no operational clearance limitations to surrounding structure. TPR valve removal requires up to approximately 170-200mm for withdrawal. If the Atlantic Plumbing Cover (shown to the right) is to be used for aesthetic purposes, please allow 300mm. - Page 5 HYDRAULIC INSTALLATION DIAGRAM - VERTICAL & HORIZONTAL Hydraulic Connection Before making the hydraulic connection, it is essential to clean the feed pipes thoroughly to avoid the risk of metal or other particles entering the tank or water heater. Mandatory installation of a safety TPR valve in a frost free location (or any other new device which limits the tank pressure) to 850kPa according to the nominal pressure, with a size of ¾”...
-
Page 6: Electrical Installation
All electrical work must be carried out by a registered electrician and in accordance with AS/NZS 3000. The Atlantic Vertigo water heater must be filled with water before connection to a power supply. Switch off the power before removing the cover to avoid any risk of injury or electric shock. -
Page 7: Thermal Cut-Out
Thermal Cut-out All Atlantic Vertigos are equipped with a thermal cut-out with manual resetting which shuts off the power to the water heater if it becomes overheated. If the circuit breaker keeps tripping: a) Switch off the power before taking any further action... -
Page 8: Troubleshooting
DIGITAL USER INTERFACE TROUBLESHOOTING... -
Page 9: Replacement Parts
Flushing of Sediment and Draining To flush or drain the water heater, power must be turned off, then turn off the cold water supply to the unit. The lever on the TPR valve should be opened but care should be taken to the lever does not snap back as it could damage the valve seat. - Page 10 Internet registration must be competed for warranty protection. 6) This warranty takes the form of repair or determined by Atlantic NZ in the form of exchange or supply, free of charge, excluding all labour and transport replacement charges.
- Page 11 8) Where the Atlantic water heater has been powered up before it has been filled (heating when dry). 9) Where the Atlantic water heater has suffered external corrosion due to non-watertight piping connections 10) If the system is either sold and/or repaired or altered by any third party without the consent of Atlantic New Zealand.
Need help?
Do you have a question about the Vertigo 30 and is the answer not in the manual?
Questions and answers