
Subscribe to Our Youtube Channel
Related Manuals for Bristan Pear


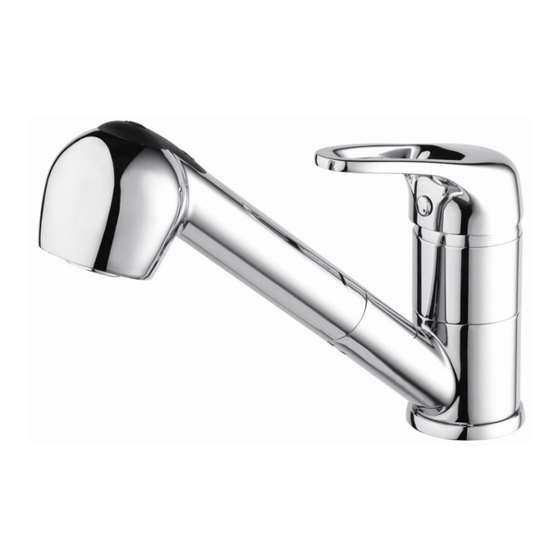
Summary of Contents for Bristan Pear
- Page 1 Pear Monobloc Sink Mixer with Pull Out Spray Installation Instructions & User Guide Please keep these instructions for future reference and request of replacement parts...
-
Page 2: Table Of Contents
Contents Thank you for choosing Bristan, the UK’s leading taps and showers expert. We have designed this product with your enjoyment in mind. To ensure that it works to it’s full potential, it needs to be fitted correctly. These fitting instructions have been created to give you all of the information you need and if you need any further help, please do not hesitate to give us a call on 0330 026 6273. -
Page 3: Important Safety Information
Important Safety Information • Please read these instructions thoroughly and retain for future use. • All products manufactured and supplied by Bristan are safe provided they are installed correctly, used correctly and receive regular maintenance in accordance with these instructions. - Page 4 Dimensions...
-
Page 5: General Specifications
General Specifications Operating pressure range (bar) Min. Max. Maximum static Pressure – 10 bar NOTE:- Nominally equal (balanced) inlet supply pressures are recommended for optimum performance of mixer taps. BS 6700 recommends the temperature of stored water should never exceed 65°C. A stored water temperature of 60°C is considered sufficient to meet all nominal requirements and will minimise the build up of lime scale in hard water areas. -
Page 6: Installation
Installation. 1. Identify all components are present prior to starting installation using the diagram overleaf. Handle Re-Enforcing Plate Grub Screw Cap Rubber ‘C’ Shaped Washer Grub Screw Metal ‘C’ Shaped Washer Shroud Fixing Rod Cartridge Retaining Nut Fixing Nut Cartridge Connection Piece Internal Housing Pull Out Hose Weight... -
Page 7: Operation
Installation Cont. 7. Connect small end of pull out hose (25) using sealing washer provided to end of pull-out hose connector (24) already fitted in base of mixer and tighten fully. 8. Split the two halves of the black hose weight (19) by removing wire spring clip and place both halves around a vertical section of black hose (25) under the fitted mixer so that it is pulling the pull-out handset back into the mixer body spout and replace wire spring clip. - Page 8 Installation cont...
-
Page 9: Maintenance
4. Carefully clean the cartridge seals and seating on the base of the cartridge (6). 5. If necessary replace the cartridge. Please visit www.bristan.com/sparesfinder in order to find spare parts for this product. 6. Replace the cartridge into the tap body (9) and tighten retaining nut (5) fully. -
Page 10: Troubleshooting
Troubleshooting Symptom Cause Remedy No flow or poor flow Partially closed stop or service Open stop or service valve. rate. valve in water supply pipework to the tap. Head of water is below the Refer to the Specification section minimum distance required. for minimum pressures required. - Page 11 Notes:...
-
Page 12: Guarantee
Bristan Guarantee At Bristan, we want to make things as easy as possible for our customers. That’s why we offer solid guarantees on all our products, effective from the date of purchase, to give you peace of mind. To start your free guarantee, simply scan the QR code and register your product.
Need help?
Do you have a question about the Pear and is the answer not in the manual?
Questions and answers