Table of Contents
Advertisement
Quick Links
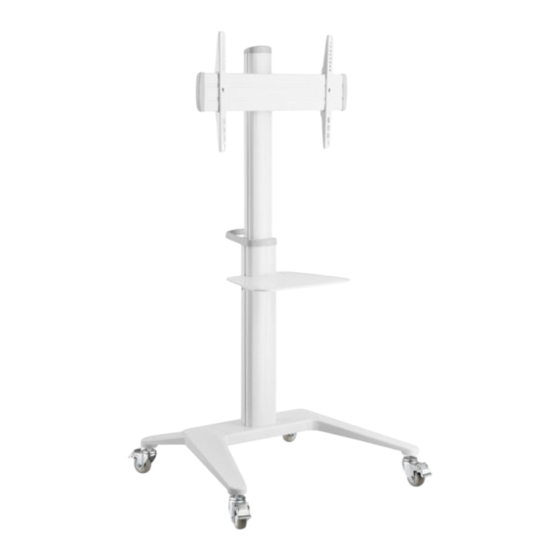
AV Cart 70
COMPONENT CHECKLIST
IMPORTANT INFORMATION
!
Please ensure this product is installed as per these installation instructions.
!
The manufacturer accepts no responsibility for incorrect installation.
!
Failure to assemble this product correctly may cause serious injury/death during or following installation.
!
This product should only be installed by professional installers of good mechanical aptitude, who fully understand these instructions and the
consequences of incorrect installation.
!
Do not over tighten screws.
!
Two person installation is recommended.
!
Product not suitable for use outdoors.
!
After installation is complete check to verify that AV Cart is secure and safe for use.
!
Curved monitors, deep devices (such as all-in-one PCs), VESA mounted accessories (such as mini PC brackets and mounts), and offset VESA
locations exert additional leverage that can exceed the capacity of the mount even though the monitor weight may be within the stated range.
Please contact Atdec if you would like further information.
Warning! Death or serious injury may occur when children climb on audio and/or video equipment furniture. A remote control or toys placed on
!
the cart may encourage a child to climb on the cart and as a result the cart may tip over on to the child.
Installation Guide
AD-TVC-70A
REQUIRED TOOLS
•
Phillips Head
Screwdriver
CAPACITY
DISPLAY SIZE
40" - 70"
DISPLAY WEIGHT
0 - 70kg
(0 - 154lbs)
SHELF WEIGHT
0 - 5kg
(0 - 11lbs)
AD-TVC-70A Page 1 of 8
Advertisement
Table of Contents

Subscribe to Our Youtube Channel
Related Manuals for Atdec AD-TVC-70A


Summary of Contents for Atdec AD-TVC-70A
- Page 1 Please contact Atdec if you would like further information. WARNING! Death or serious injury may occur when children climb on audio and/or video equipment furniture. A remote control or toys placed on the cart may encourage a child to climb on the cart and as a result the cart may tip over on to the child.
- Page 2 BRAKES BEFORE MOVE THIS CART FORCE ON FRONT OR AT TOP PUSH NEAR MIDDLE STATIONARY MOVING BACK 1. Assemble the Base NOTE: Lock the brakes on the castors to avoid any sudden movements during installation. AD-TVC-70A Page 2 of 8...
- Page 3 Tighten the hex screws with the 5mm Allen Key at the desired height. NOTE: Ensure there is a >4mm gap between the shelf and the mounting plate before attempting to slide the shelf onto the lower column. 3.1. 3.2. 3.3. 3.4. AD-TVC-70A Page 3 of 8...
- Page 4 NOTE: Ensure there is a >4mm gap before attempting to slide the shelf onto the upper column. AD-TVC-70A Page 4 of 8...
- Page 5 NOTE: Ensure the arrows are pointing upwards. 7. Attaching End Caps to mounting plate Secure brackets with screws (part Q) and attach end caps (part K). AD-TVC-70A Page 5 of 8...
- Page 6 9.1. Hook the display rail onto the mounting bracket on the column. 9.2. Secure the rail to the bracket using screws (part H1) removed in Step 5.1. NOTE: Display must be supported until screws are fastened to rail. AD-TVC-70A Page 6 of 8...
- Page 7 11.2. Allen key S and T can be stored in the handle for your convenience. AD-TVC-70A Page 7 of 8...
- Page 8 No portion of this document or any artwork contained herein should be reproduced in any way without the express written consent of Atdec Pty Ltd. Due to continuing product development, the manufacturer reserves the right to alter specifications without notice. ©20211018...
Need help?
Do you have a question about the AD-TVC-70A and is the answer not in the manual?
Questions and answers