
Related Manuals for Nadoli DN5138C-CL


Summary of Contents for Nadoli DN5138C-CL
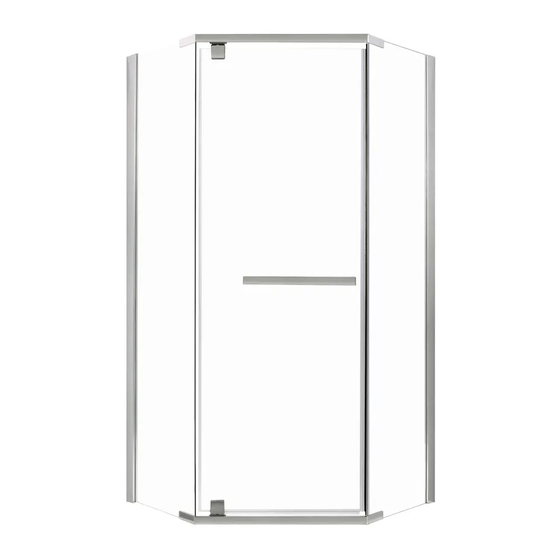
- Page 1 DN5138C-CL 38" x 38" Neo-Angle Opening Shower Door Dimension of shower door: (905-930) x (905-930) x 1770mm(H) / (35-5/8"-36-5/8") x (35-5/8"-36-5/8") x 69-11/16"(H) Profile adjustment : +25mm/1" Rev. April 11, 2018...
- Page 2 General Information Informations générales Please inspect the product immediately upon receipt for transit damage, missing packs / parts or manufacturing fault. Damage reported later cannot be accepted. Please handle the produck with care avoiding knocks and shock loading to all sides and edges of the glass. *Prière de bien inspecter le produit dès la réception pour s’assurer qu’il n’a aucun défaut, bris ou pièces manquantes.
- Page 3 Assembly Drawing / Dessin d'assemblage Required parts / Pièces requises Q’TY Item no.in exploded Q’TY Item no.in exploded Description Description (numéro d'items (numéro d'items (Description) (Quantité) (Quantité) (Description) dans la vue exposée) dans la vue exposée) Wall Posts Splash Guard /Anti-éclaboussure /Montant De Mur Fixed Slde Panels...
- Page 4 Installation Steps: / Étapes d'installation: Step 1 / Étape 1 Using a level ensure jambs (1) are plumb the mark the outside edge with a pencil.Then mark your screw holes that are on the inside of the jamb. *En utilisant un niveau s'assurer que les montants (1) sont d'aplomb puis marquez le bord extérieur avec un crayon.
- Page 5 Step 3 / Étape 3 Connect top and bottom rails (3) to fix panels (2).Ensure rail cap bases (8) are placed on the glass before using rail fixing screws (11).Cap off with rail caps (9).Do not over tighten as this may damage rail cap bases (8). Hint:Use a small amount of silicone on the cap to seal the cap to the cap base.Do this last when sealing the shower.
- Page 6 Now drill 4 equally spaced 3.2mm holes into the wall jambs (1) on the INSIDE of the screen.Make sure that your drill holes are more than 20mm back from the edge of the glass, when using smallest screen size,otherwise you may break the Step 5 / Étape 5 glass.Make sure that the holes also go throught the aluminium of the fixed panels.
- Page 7 Side hinge caps (7) over both hinges(6). *Faites glisser les bouchons charnière (7) sur les deux charnières(6). Hint:Place a small amount of silicone under each cap before installing to ensure cap remain Step 7 / Étape 7 in position permanently.This can be done last when sealing the outside of the shower.
Need help?
Do you have a question about the DN5138C-CL and is the answer not in the manual?
Questions and answers