Advertisement
Quick Links
Advertisement

Related Manuals for Hay AAT 20


Summary of Contents for Hay AAT 20
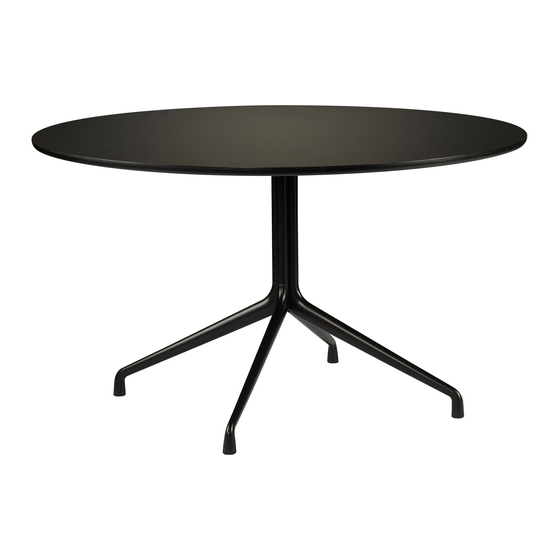
- Page 1 – INSTRUCTION MANUAL – ABOUT A TABLE AAT 20 DESIGN BY HEE WELLING & HAY...
- Page 3 – PARTS – Tabletop x1 Column x1 Leg x3 Support x3 Bracket x2 Screw x9 Adjustable Expanding nut x6 glider x3 Screw x6 Screw x2 Allen key x1...
- Page 4 Protect the table top from scratches and other damage while assembling.
- Page 5 Slide the part into the part and press it down gently. Repeat this step on all parts. Place the part into the part. Repeat this step on all parts. ...
- Page 6 Place the part in the shown holes of the parts. Screw 3 x parts in the shown holes of the part, using the Allen key ( ...
- Page 7 Screw the parts in the shown hole of the part, using the Allen key ( Place the part into the part and press it down gently. Repeat this step on all parts. ...
- Page 8 Place the part in the shown holes of the part. Repeat this step on all parts. Place the part in the shown holes of the parts. ...
- Page 9 Screw the 3 x parts into the shown holes of the part using the Allen key ( Screw the part in the shown holes of the part using the Allen key ( ...
- Page 10 Screw the part into the hole of the part. Repeat this step on all parts. ...
- Page 11 Screw the part to the tabletop using the parts. NOTICE Make sure the table is upright when mounting the base.
- Page 12 If the table is standing on an uneven floor, adjust the gliders until stable.
-
Page 13: Care And Maintenance
– CARE & MAINTENANCE – Our Care & Maintenance offers guidance for optimal maintenance of your HAY product. It includes advice and instructions on cleaning and caring for specific materials to prolong the life of your furniture. Please find our Care & Maintenance... - Page 16 Havnen 1 8700 Horsens Denmark +45 4282 0282 / hay@hay.com www.hay.com 22/12/2021...
Need help?
Do you have a question about the AAT 20 and is the answer not in the manual?
Questions and answers