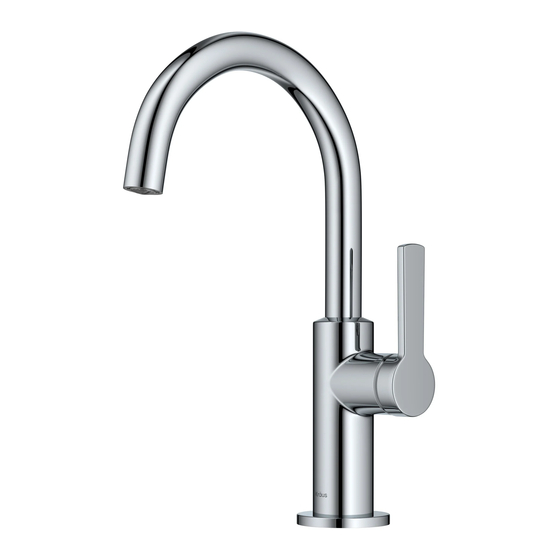
Kraus Oletto KPF-2822 Installation Manual
Single handle bar faucet
Hide thumbs
Also See for Oletto KPF-2822:
- Installation manual (12 pages) ,
- Installation manual (12 pages)
Subscribe to Our Youtube Channel
Summary of Contents for Kraus Oletto KPF-2822
- Page 1 INSTALLATION GUIDE Oletto™ Single Handle Bar Faucet KPF-2822 www.kraususa.com I Toll Free: 1.800.775.0703 I © 2021 Kraus USA Plumbing LLC I REV. NOV 17, 2021...
- Page 2 Congratulations on the purchase of your new Please keep the box and packaging materials until your product is completely installed. If you have any questions, require technical assistance, or have any problems with your product: DO NOT RETURN TO STORE Please contact our Customer Service Team 1-800-775-0703 / customerservice@kraususa.com Have the model number available, and retain a copy of your receipt...
-
Page 3: Prior To Installation
Prior to Installation: • Make sure you have all necessary parts by checking the diagram and parts list. If any part is missing or damaged, please contact Kraus Customer Service at 800-775- 0703 for a replacement • to release any built-up pressure •... - Page 4 Diagram and Parts List F. Mounting Nut A. Faucet Body B. Aerator G. Screws C. Flange H. Hex Wrench D. Plastic Washer E. Metal Washer...
- Page 5 Faucet Dimension 8 1/8" [204.9mm] 6 1/2" 3 1/2" [165.1mm] [90.1mm] Ø2 1/4" [57.0mm] 3/8” compression Installer Tip:...
- Page 6 Step 1: Remove washers and mounting nut Shut o the water supply. Remove the old faucet. Clean the mounting surface. Remove the mounting nut & screws (F&G), metal washer (E) and plastic washer (D) from the faucet (A). F&G Step 2: Installing the faucet Place faucet (A) through the hole in countertop.
- Page 7 Step 3: Connect waterlines to main valve Attach waterlines to angle stops and tighten until snug. Turn on angles stops and check for leaks (DO NOT TURN FAUCET ON) NOTE are installed before connecting to the main valve. Step 4: Flush faucet After installing faucet, remove aerator (B) with a coin.
-
Page 8: Replacement Parts
Replacement Parts Replacement Parts List Finish / Color Part # 1. Aerator KP27199 2. Washer KP27201 3. Block KP27030 4. O-ring KP27029 5. Screw KP27223 6. Cover Button GR, BL* KP27222 7. Cartridge KP27069 8. Bonnet Nut KP27202 SFS, MB, BB,CH 9. -
Page 9: Troubleshooting
Troubleshooting If you have followed the instructions carefully and your faucet still does not work properly, take the following coorective steps: P R O B L E M C A U S E A C T I O N Leakage under the Bonnet nut (8) has Remove the cover button (12). - Page 10 Kraus warrants the structure and finish of the Faucet to be free from defects in material and workmanship under normal usage for as long as the original purchaser resides in the residence in which the Faucet was first installed.
- Page 11 TO THE MAXIMUM EXTENT PERMITTED BY APPLICABLE LAW, THIS WARRANTY DOES NOT COVER, AND KRAUS USA PLUMBING, LLC SHALL NOT BE LIABLE FOR, ANY SPECIAL, INCIDENTAL OR CONSEQUENTIAL DAMAGES (INCLUDING LABOR CHARGES TO REPAIR, REPLACE, INSTALL OR REMOVE THIS PRODUCT), WHETHER ARISING OUT OF BREACH OF ANY EXPRESS OR IMPLIED WARRANTY, BREACH OF CONTRACT, TORT, OR OTHERWISE.
- Page 12 IMPORTANT Register Your Kraus Product Activate Your Warranty Access Premium Customer Support Get Product Information REGISTER TODAY http://www.kraususa.com/registration www.kraususa.com...


Need help?
Do you have a question about the Oletto KPF-2822 and is the answer not in the manual?
Questions and answers