
Related Manuals for Polaris BT50 Luxx


Summary of Contents for Polaris BT50 Luxx
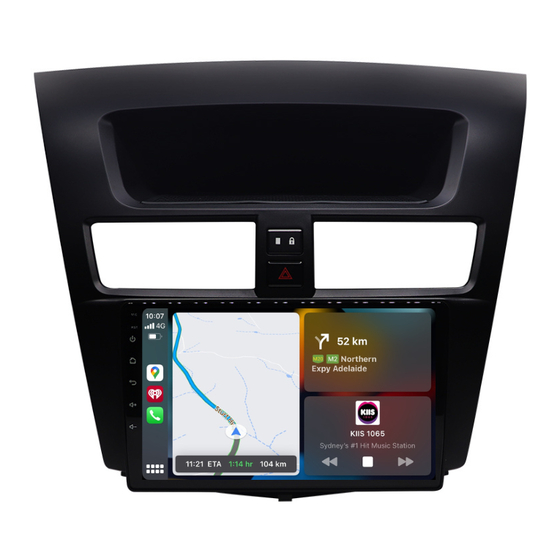
- Page 1 BT50 Luxx Installation Manual Please read this manual before installing this product.
-
Page 2: Warranty Details
Water damage • Improper use • Labour • Postage and Handling • If you have any questions concerning the installation, warranty or the operation of the unit, please contact Polaris on 1300 555 514. We hope that you enjoy the BT50Luxx... -
Page 3: Installation Notes
When pulling the dash apart, please use quality trim tools to avoid damaging your dash. Please do NOT cut any plugs off of any Polaris cameras. Doing so will void your warranty! If you need to blend other brand cameras into our system, please call Polaris on 1300 555 514 so we can refer you to a recommended dealer who has the skill and experience in performing this type of work. - Page 4 Removing your panel 1. Use trim tool to remove air 2. Pull Air conditioning panel 3. Unplug harness and set air con control panel out. con panel aside 6. Unplug button panel and set 4. Use trim tool to remove 5.
-
Page 5: Wiring Diagram
Wiring Diagram Other wiring Hazard Switch extension cable • 2 x USB retention adaptors > plug these into the cabled USB’s to retain your glove box USB • and one USB in your panel (if required). External Bluetooth microphone: unit does have internal microphone but you can run the •... - Page 6 Wiring Diagram: Reverse Camera DIAGRAM 1 CONSTANT CAMERA AND TRIGGER REVERSE TRIGGER WIRE REVERSE FOUND IN ORIGINAL HARNESS (COLOUR MIGHT DIFFER FROM BRANDS AND CUT AND TAPE OFF WIRES AS MODELS) NOT NEEDED IN THIS SET UP RCA PLUGS INTO CAMERA INPUT FOUND ON HEAD UNIT DIAGRAM 2...
- Page 7 Wiring Diagram: Reverse Camera (cont.) IF NO REVERSE TRIGGER IS FOUND PLEASE FOLLOW THE SECOND DIAGRAM, IF YOU WOULD LIKE A CONSTANT CAMERA AS WELL, A TRIGGER MUST BE BROUGHT FROM REVERSE LIGHT DIAGRAM 3 REVERSE TRIGGER WIRE TAPE (POWER TO CAMERA) WIRES AS NOT...
- Page 8 Prepare the fascia 1. Remove clips from original fascia panel... 2. Attach clips to new fascia panel...
- Page 9 Install the new head unit and fascia 1. Make sure all of your wiring is plugged into the back of the head unit and all of your cables are tucked away neatly before securing the unit in place. 4. Gently push air 2.
Need help?
Do you have a question about the BT50 Luxx and is the answer not in the manual?
Questions and answers