Advertisement
Quick Links
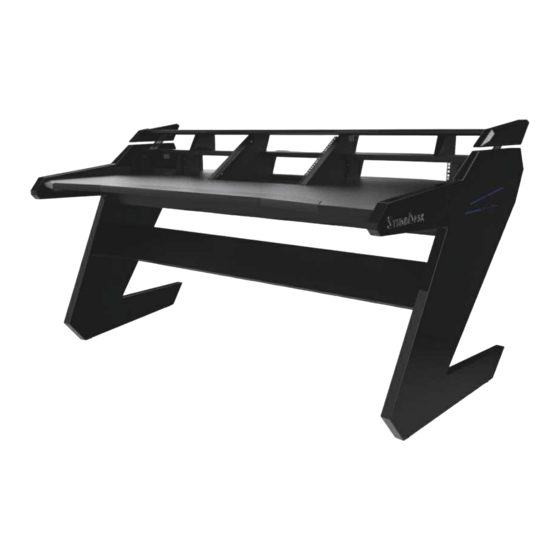
Dominator Series
Recommendation
FOLLOW THE LINK FOR STEP BY STEP
VIDEO ASSEMBLY MANUAL
For Keyboard stand and floor rack follow the separate
assembly manual on our website.
!
Please assemble your product on soft
surface to avoid scratches and damages
on lacquer.
www.studiodesk.net
Advertisement

Related Manuals for StudioDesk Dominator Series


Summary of Contents for StudioDesk Dominator Series
- Page 1 Dominator Series Recommendation FOLLOW THE LINK FOR STEP BY STEP VIDEO ASSEMBLY MANUAL For Keyboard stand and floor rack follow the separate assembly manual on our website. Please assemble your product on soft surface to avoid scratches and damages on lacquer.
- Page 2 The Desk You Deserve Thank you for making StudioDesk your desk of choice! Before beginning assembly of your stand, let s get familiar with the parts you have received in your package. Please match the corresponding numbers on this page with the drawings. Parts 1. Legs 2. Main desk surface 3. Shelving pats 4. Reinforcements 5. Under Bridge 6. Cable management 3.e 3.f Tools needed Hardware (Not included) M6 screw Hexagon M6 x12 M6 x16 Desk tips head 10 pcs Screw Screw BL 4 pcs 83 pcs 50 pcs...
- Page 3 Step One Connect supports together using Dowels (12), Confirmat screws (9) as shown In the illustration on the right. Note part 4.b must be turned as pointed With the arrow. Step TWO Install construction to the main desk surface using dowels (12). Step Three Fix construction using Metal brackets (10) and M6 Screws (6) ...
- Page 4 Step Four 3.c 3.f Turn Main desk surface on the other side and put in place rack dividers 3.b Left and 3.c right divider using wooden dowels (12). Do the same with small dividers 3.e and 3.f Make sure that two holes for fixing rack rails are turned inner side as shown on the illustration. Step Five Add wooden dowels to the vertical boards as shown on the illustration. Install monitor shelf on dowels Step Six Fix top shelf to dividers using metal brackets (10) and M6 Screws as shown on the illustration. ...
- Page 5 Step Seven Insert dowels (12) to the all positions as shown on the illustration to prepare middle section to be installed to the desk legs. Step Eight Note! Two persons are required. Place left leg 1.a to the soft surface. Two persons carry construction and place it carefully to the left leg. All dowels falling into the corresponding holes on the leg. Be careful not to scratch the leg while doing this step. 1.a Step Nine Use Metal brackets (10) and M6 screws (6) to fix main desk surface to the leg 1.a. ...
- Page 6 Step Ten Install Metal brackets (10) as shown on the Illustration on the right using M6 Screws (6). Step Eleven Insert wooden dowels into the under bridge And insert it to the corresponding holes on the Leg. Dominator carving has to be turned towards front. Step Twelve Fix the bridge using Metal bracket (10) and M6 Screws (6) ...
- Page 7 Step Thirteen Two persons are needed in this step. Install right leg 1.b to the rest of the construction. All dowels from the verticals should fall into The holes on the corresponding holes on the leg. Step Fourteen Use Metal brackets (10) and M6 screws to fix right leg to the construction as shown on the illustration. Step Fifteen Install desk tips (8) by screwing it in at this point. ...
- Page 8 Step Sixteen Two people are needed in this step! Carefully turn the desk in the standing position. Install top shelf 3.d to Rack dividers 3.b and 3.c and shelf supports 3.g using dowels 12. Step Seventeen Fix top shelf 3.d to the Rack dividers 3.b and 3.c Using metal brackets 10 and M6 screws 6 as Shown on the illustration on the left. Step Seventeen Install side fins 3.i and 3.h to the top shelf Using dowels 12. ...
- Page 9 Step Nineteen Fix Fins 3.I and 3.h with Fin supports And M6 Screws with Hexagon heads. Step Twenty Install 8 U rack rails (15) using M6 Screws. Step Twenty One Install 2 U racks using M6 screws on the both Sides of the desk. You can skip this step If you are not planing to use this rack space. ...
- Page 10 Step Twenty Two Install Cable management (6) using M6 screws as shown on the illustration. Congratulations on your new desk!
Need help?
Do you have a question about the Dominator Series and is the answer not in the manual?
Questions and answers