
Related Manuals for StudioDesk PAK01


Summary of Contents for StudioDesk PAK01
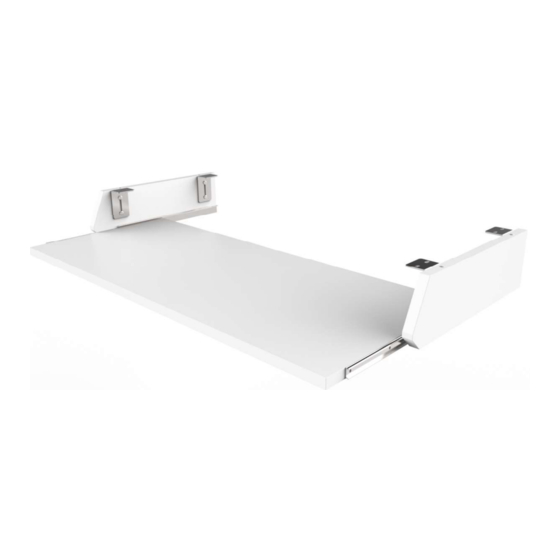
- Page 1 PAK01 PRO Line pull out option White PAK02 PRO Line pull out option Black Please assemble your product on soft surface to avoid scratches and damages on lacquer.
- Page 2 The Desk You Deserve Thank you for making StudioDesk your desk of choice! Before beginning assembly of your pull out option keyboard tray, let’s get familiar with the parts you have received in your package. Please match the corresponding numbers on this page with the drawings. Wooden parts 1.
- Page 3 Before middle portion of the PRO Line desk is assembled, you should fix pull out option dividers on the corresponding holes on the bottom of the main desk surface. Step One Fix metal brackets (5) to the dividers (1,2) using M6 screws (4) as shown on the illustration left.
- Page 4 Step Three Once your Pro line desk will be completely assembled, carefully put shelf on the sliding mechanism rails and slowly push it inwards all the way. Step 4 Your sliding mechanism is equipped with safety breaks (10) to prevent movements of tray while playing and pulling keyboard tray all the way out.
Need help?
Do you have a question about the PAK01 and is the answer not in the manual?
Questions and answers