
Related Manuals for Jensen JCR-275


Summary of Contents for Jensen JCR-275
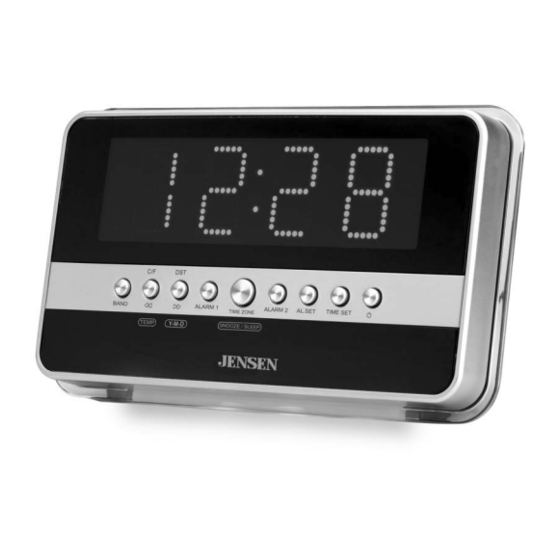
- Page 1 AM/FM DUAL ALARM CLOCK RADIO WITH WAVE SENSOR MODEL JCR-275 USER MANUAL PLEASE READ THIS USER MANUAL COMPLETELY BEFORE OPERATING THIS UNIT AND RETAIN THIS BOOKLET FOR FUTURE REFERENCE.
-
Page 2: Important Safety Instructions
WARNING: To reduce the risk of fire or electric shock, do not expose this appliance to rain or moisture. CAUTION: Use of controls or adjustments or performance of procedures other than those specified may result in hazardous radiation exposure. CAUTION - TO REDUCE THE RISK OF ELECTRIC SHOCK, DO NOT REMOVE COVER (OR BACK). -
Page 3: Compliance With Fcc Regulations
12) Use only with a cart, stand, tripod, bracket, or table specified by the manufacturer, or sold with the apparatus. When a cart is used, use caution when moving the cart/apparatus combination to avoid injury from tip-over. 13) Unplug this apparatus during lightning storms or when unused for long periods of time. -
Page 4: Protect Your Furniture
The serial number of this product is found on its bottom. You should note the serial number of this unit in the space provided as a permanent record of your purchase to aid in identification in the event of theft of loss. Model Number: JCR-275 PROTECT YOUR FURNITURE ®... -
Page 5: Location Of Controls
Controls and Functions of Unit 1. AM/FM Band Button / Y-M-D / DST Button 3. Snooze / Sleep / Time Zone Button 4. Alarm Set Button 5. On / Off Button / Temp / °C/ °F Button 7. Alarm 1 Radio / Alarm Button 8. -
Page 6: Getting Started
Do not mix old and new batteries. Do not mix alkaline, standard (carbon-zinc) or rechargeable (nickel-cadmium) batteries. If the unit is not to be used for an extended period of time, remove the batteries. Old or leaking batteries can cause damage to the unit and may void the warranty. Do not dispose of batteries in fire, batteries may explode or leak. -
Page 7: Setting Up Calendar And Clock
1. Press and hold the TIME SET BUTTON (#9) for 2 seconds to enter calendar setting mode. 2. Press the BUTTON (#2) or flashing) setting. 3. Press the TIME SET BUTTON (#9) to confirm and cycle through other settings as follow. Normal Year Month... -
Page 8: Snooze Function
1. Press the ALARM 1 (#7) or ALARM 2 (8) BUTTON to select the Music option ( ) for wake-to- radio. 2. Press the same button again to change to the Alarm option ( ) for wake-to-alarm. 3. Press the same button again to disable the corresponding ALARM 1 or 2. Turning Off the Alarm: The alarm or radio will sound for 30 minutes unless interrupted by pressing the corresponding ALARM 1 or ALARM 2 BUTTONS or ON/OFF BUTTON (#5). -
Page 9: Infrared Sensor Function
Turn off your external audio device first when you finish listening. Then unplug the stereo cord from the AUX IN JACK (#17) and normal radio reception will resume. In radio off mode, to display indoor temperature and alarm time settings: Wave your hand over the IR SENSOR (#16) once to show the indoor temperature... -
Page 10: Night Light
Wave your hand over the IR SENSOR (#16) to show the indoor temperature Wave your hand over the IR SENSOR (#16) again within 1 second to show the ALARM1 time In radio off mode, with the Display Dimmer Switch set to “AUTO OFF”, the time display will automatically turn off in 15 seconds. -
Page 11: Specifications
Aux In jack to maximum. mode E-10 Solution Relocate the clock radio to keep it a minimum 3 – 6 inches from a wall and make sure there is no barrier (e.g. shelf) above the clock radio less than the minimum 9 - 12 inches. - Page 12 90 DAY LIMITED WARRANTY AND SERVICE SPECTRA MERCHANDISING INTERNATIONAL, INC. warrants this unit to be free from defective materials or factory workmanship for a period of 90 days from the date of original customer purchase and provided the product is utilized within the U.S.A. This warranty is not assignable or transferable. Our obligation under this warranty is the repair or replacement of the defective unit or any part thereof, except batteries, when it is returned to the SPECTRA Service Department, accompanied by proof of the date of original consumer purchase, such as a duplicate copy of a sales receipt.
Need help?
Do you have a question about the JCR-275 and is the answer not in the manual?
Questions and answers