
Related Manuals for Jensen JCR-208


Summary of Contents for Jensen JCR-208
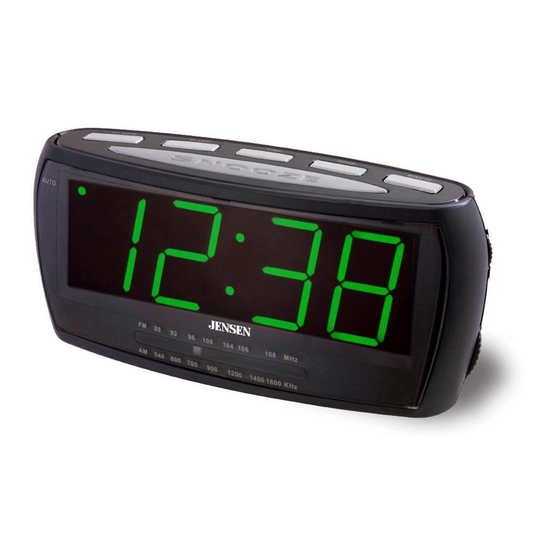
- Page 1 MODEL JCR-208 AM/FM CLOCK RADIO INSTRUCTION MANUAL Please read and follow this instruction manual carefully before using the unit and retain it for future reference...
-
Page 2: Important Safety Instructions
WARNING TO PREVENT FIRE OR SHOCK HAZARD, DO NOT USE THIS PLUG WITH AN EXTENSION CORD, RECEPTACLE OR OTHER OUTLET UNLESS THE BLADES CAN BE FULLY INSERTED TO PREVENT BLADE EXPOSURE. TO PREVENT FIRE OR SHOCK HAZARD, DO NOT EXPOSE THIS APPLIANCE TO RAIN OR MOISTURE. - Page 3 13. Refer all servicing to qualified service personnel. Servicing is required when the apparatus has been damaged in any way, such as power-supply cord or plug is damaged, liquid has been spilled or objects have fallen into the apparatus, the apparatus has been exposed to rain or moisture, does not operate normally, or has been dropped.
- Page 4 COMPLIANCE WITH FCC REGULATION This equipment has been tested and found to comply with the limits for radio receiver, pursuant to Part 15 of the FCC Rules. These limits are designed to provide reasonable protection against harmful interference in a residential installation.
-
Page 5: Power Source
IMPORTANT NOTES Avoid installing the unit in locations described below: Places exposed to direct sunlight or close to heat radiating appliances such as electric heaters. Dusty places. Places subject to constant vibration. Humid or moist places. POWER SOURCE This unit is designed to operate on 120V/60Hz AC house current. -
Page 6: Location Of Controls/Indicators
POWER FAILURE INDICATOR If there is no battery installed in the unit or the battery installed is weak or dead, the time and alarm settings will be lost if the power is interrupted. When the AC power is restored the display will flash “12:00”. This indicates that the time displayed is incorrect and needs to be reset. -
Page 7: Operating
OPERATING INSTRUCTIONS SETTING THE CLOCK When you connect the radio to an AC outlet for the first time the clock display will begin flashing "12:00". The flashing will stop when you set the time. 1. Press and hold the TIME button and repeatedly press the HOUR button to set the correct Hour. -
Page 8: Setting/Checking The Wake Up Time
ALARM OPERATION SETTING THE WAKE UP TIME 1. Press and hold the ALARM BUTTON and repeatedly press the HOUR BUTTON to set the correct wake up Hour. 2. Press and hold the ALARM BUTTON and repeatedly press the MINUTE BUTTON to set the correct wake up Minute. NOTE There is a PM INDICATOR located in the top left-hand corner of the clock display. -
Page 9: Sleep Operation
5. If you do not want the alarm to turn on the following day, set the FUNCTION SELECTOR to the “OFF” position. The AUTO INDICATOR will go off. SNOOZE ALARM After the radio or alarm sounds, you may press the SNOOZE button for a few more minutes sleep. -
Page 10: Care And Maintenance
CARE AND MAINTENANCE 1. If the cabinet becomes dusty, wipe the exterior with a soft dust cloth only. Never use dusting sprays or polishes on the cabinet. 2. If the cabinet becomes dirty or smudged with fingerprints it may be wiped with a soft cloth that has been slightly dampened with a mild soap and water solution. - Page 11 90 DAY LIMITED WARRANTY AND SERVICE VALID IN THE U.S.A ONLY SPECTRA MERCHANDISING INTERNATIONAL, INC. warrants this unit to be free from defective materials or factory workmanship for a period of 90 days from the date of original customer purchase and provided the product is utilized within the U.S.A. This warranty is not assignable or transferable.
Need help?
Do you have a question about the JCR-208 and is the answer not in the manual?
Questions and answers