HOMCOM A90-243 User Manual
Hide thumbs
Also See for A90-243:
- Instruction manual (26 pages) ,
- Manual (24 pages) ,
- User manual (24 pages)

Related Manuals for HOMCOM A90-243


Summary of Contents for HOMCOM A90-243
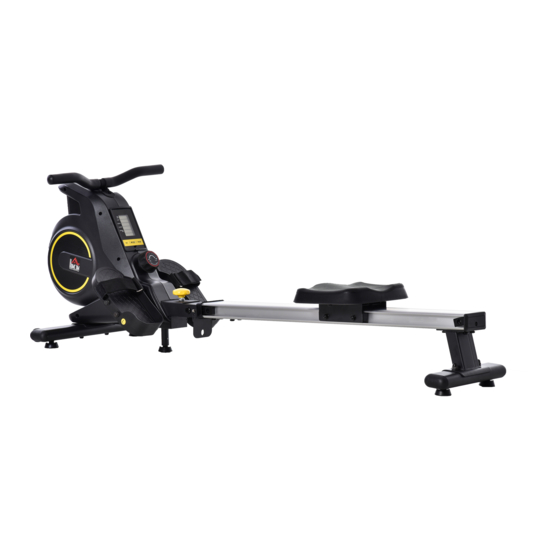
- Page 1 INapa001_UK A90-243 ROWING MACHINE USER MANUAL READ AND SAVAE THIS INSTRUCTION FOR FUTURE USE ASSEMBLY INSTRUCTION...
-
Page 2: Table Of Contents
CONTENTS Safety Notice………………………………………………………………………………….. Parts List………………………………………………………………………………………. Exploded View………………………………………………………………………………… Assembly Instructions.………………………………………………………………………. 4 Battery replacemen…………………………………………………………………………... 7 Folding the machine..………………………………………………………………………. 8 Details of Display Monitor..…………………………………………………………………... 9... -
Page 3: Safety Notice
CAUTION! The maximum load bearing is 264lbs. (120KG) If you feel unwell whilst using the machine, please stop immediately and seek medical advice from your doctor before next use. For your safety, you must keep a distance of at least 0.9 metres away from surroundings during exercise. -
Page 4: Parts List
PACKING LIST ROWING MACHINE COMPONENTS 1.Frame 2.Front foot pipe 3.Rail 4.Frame connection 5.Front rail cover 6.Lock bolt set x 2 7.Seat 8.Rear support 11.Rear foot pipe 12.Short sleeve x 2 10.Rear rail cover 9.Connecting sheet 13.Long sleeve x 2 14.Left pedal 15.Right pedal 16.Pedal pipe x 2 PARTS LISTS... -
Page 5: Exploded View
EXPLODED VIEW ~ 3 ~... -
Page 6: Assembly Instructions
ASSEMBLY INSTRUCTIONS Step 1: Assemble the front foot pipe Attach the front foot stabliliser bar (No.2) to the frame (No.1). Attention: the wheels of the front bar should be facing outward. Screw two M10*55mm Allen bolts (No.17), two M10 flat washers (No.18), two M10 split washers (No.19) using the big Allen wrench (No.32) to tighten. - Page 7 Step 3: Assemble the seat and rear of the rail For the step, please prepare a lock bolt set(No.6), the seat(No.7), rear support(No.8), connecting sheet(No.9), rear rail cover(No.10), four M8*16mm bolts(No.20), four split washers(No.21), four flat washers(No.22), M5*16 bolt(No.23), and two Allen wrenches(No.32).
- Page 8 Step 5: Assembling the rail Connect the rail and the frame. Screw the M12*100mm hex bolt (No.26) and the M12 lock nut (No.27) to the hole near to the frame by using two open end wrenches (No.33). Insert the detent pin (No.28) to the hole near to the rail.
-
Page 9: Battery Replacemen
BATTERY REPLACEMENT 2. Remove the battery cover 1. Press the button and the remove the monitor carefully 3. Replace with two AA batteries 4. Place the cover back on and install the monitor carefully ~ 7 ~... -
Page 10: Folding The Machine
FOLDING THE MACHINE When folding and storing the rowing machine, first pull out the locking knob (No. 23) and the quick latch (No. 22), then fold the aluminium rail upwards. Insert the locking knob at the junction of the fuselage and the aluminium rail. After folding, you can move the machine with the aid of the two wheels on the front foot bar. -
Page 11: Details Of Display Monitor
DETAILS OF DISPLAY MONITOR Parameters TIME 00:00-99:00 00:00 TIME TIME COUNT /500M /500M 0 ~9999 8888 COUNT COUNT DISTANCE 0.0~99.9 ML 88.88 DIST DISTANCE MILE CALORIES 0-9999 KCAL 8888 CALORIES WATT WATT STROKES 0-999 SPM STROKES /MIN MODE RESET Operation Turn on/off The monitor will automatically turn on when you start to exercise, and you can also turn on it manually by pressing those buttons. - Page 12 MODE (This button is used to choose below 5 modes as your needs.) 1. Time ---------------------This mode displays the time you have rowed. 2. Time/500M-------------------- At current speed, the time you need per 500 metres. 3. (The Time and Time/500M time are switched every 6 seconds.) 4.
Need help?
Do you have a question about the A90-243 and is the answer not in the manual?
Questions and answers