Table of Contents
Advertisement
Quick Links
Cambridge
Qt
X Controller Accessories
®
Installation Guide
Rack Mount Kit
Plenum Mount Kit
PoE+ Power Injector
A:
9300 S.W. Gemini Drive Beaverton, OR 97008 USA
Wall Mount Kit
ACCESSORIES
Qt
X Controller Accessories
®
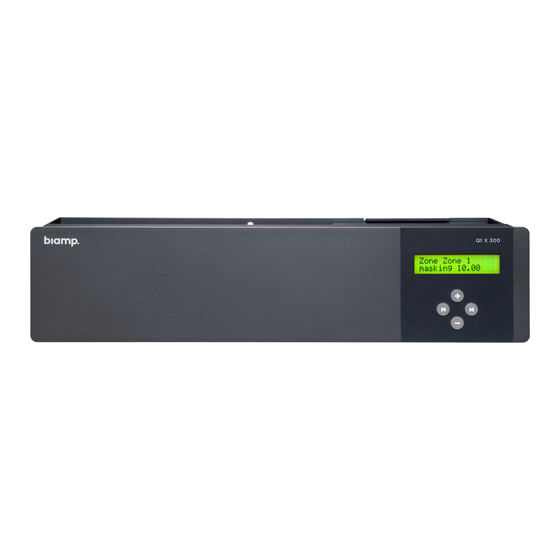
Rack Mount Kit (Qt X RMT-KT) – allows a Qt X 300, 600 or 800 to be
mounted to a rack. Includes the rack mount brackets and hardware. See
instruction to change from a wall mount (Qt X 300/600) or install in a rack
(Qt X 800).
Wall Mount Kit (Qt X WMT-KT) – allows a Qt X 800 or 805 to be mounted
to a wall and includes the wall bracket and hardware. See instruction to
change from a rack mount (Qt X 805) and install on a wall.
Plenum Mount Kit (Qt X PLMT-KT) – allows a Qt X 300/600 or 805
to be mounted in a plenum space and includes the mounting brackets.
See instruction to change from a rack mount (Qt X 805) or wall mount
(Qt X 300/600) and install in a plenum space on ceiling tile rails.
48V Power Supply Kit (Qt X PWR-KT-48V) – includes a 48V power
supply, power cord, bracket and hardware for use with a Qt X 800/805
models.
Poe+ Class 4 Power Injector (POE29U-1AT(PL)D-R [91x.0004]) –
plenum rated - provides power to the Qt X 800/800D.
Connecting people through extraordinary audiovisual experiences™
W:
www.biamp.com
Advertisement
Table of Contents

Summary of Contents for Biamp Qt X
- Page 1 X Controller Accessories ® Rack Mount Kit (Qt X RMT-KT) – allows a Qt X 300, 600 or 800 to be mounted to a rack. Includes the rack mount brackets and hardware. See instruction to change from a wall mount (Qt X 300/600) or install in a rack (Qt X 800).
- Page 2 Install Rack Mount Brackets For Qt X 300/600 controllers start at step 1. If you are converting a Qt X 800 controller to a wall mounted unit with a 48V power supply, you will need to have both the wall mount kit and the power supply kit. Start with Step 3.
- Page 3 3. Attach the power supply bracket to the longer (R) rack ear with hex nuts and 5. Secure the Qt X controller to the rack via the rack ears as shown (Figure 5). insert the power supply with power cord outlet located to the back (Figure 3).
- Page 4 3. Attach the power supply bracket to the wall mount bracket with hex nuts on For Qt X 805 controllers start at step 1. If you are converting a Qt X 800 controller to a wall mounted unit with a 48V power supply, you will need to have both the the threaded studs loosely as shown.
- Page 5 Install the lower screws, but do not tighten, allowing Guide. Rotate the Qt X up and move down into the operating position to lock the bracket to move. Loosely install the upper screws without capturing the into place.
- Page 6 M4 screw Figure 12. Controller is face down against the ceiling tile with an additional M4 screw on each side to prevent panel movement Figure 14. Controller is raised above the rail page 6 Accessory Installation Guide Qt X Controller...
- Page 7 PoE+ Class 4 Power Injector Designed to provide power to Qt X 800/800D models. This unit can be mounted using the tabs on either end of the unit. Mounting hardware must be supplied by the installer. Connect the injector to the controller using a rated cable from the OUT port to the PoE+ port on the rear of the controller (circled).
- Page 8 However, due to ongoing technical advances, changes or modifications may have occurred that are not covered in this manual. The latest version is available at www.biamp.com. 9300 S.W. Gemini Drive Beaverton, OR 97008 USA www.biamp.com...


Need help?
Do you have a question about the Qt X and is the answer not in the manual?
Questions and answers