Table of Contents
Advertisement
Quick Links
INSTALLATION MANUAL
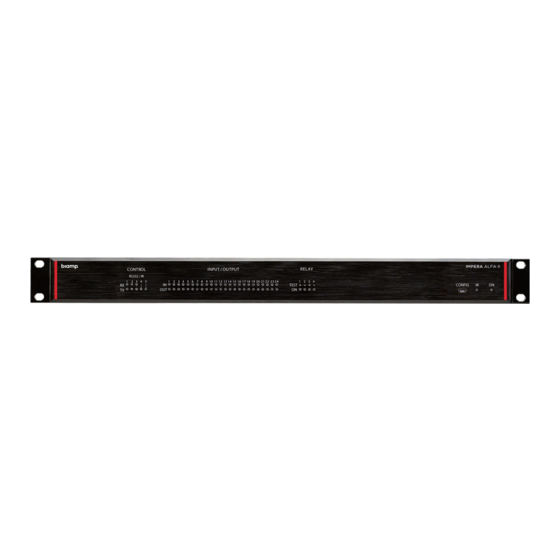
IMPERA ALFA II
000.0000.000
WHAT IS IN THE BOX?
The box contain the following items:
• 1 x Impera - ALFA II
• Power cable
• Cable relief bracket
• Cable relief cover
• Phoenix connectors
• Screws
• Cable binders
• Installation manual
IMPORTANT SAFETY INSTRUCTIONS
Caution:
Read these instructions:
Read and understand all safety and operating instructions before using the equipment.
Keep these Instructions:
The safety instructions should be kept for future reference.
Heed all Warnings:
Follow all warnings and instructions marked on the equipment or in the user information.
Avoid Attachments:
Do not use tools or attachments that are not recommended, because they may be hazardous.
Warning!:
• This equipment should be operated only from the included power supply.
• To remove power from the equipment safely, remove all power cords from the rear of the equipment, or
the desktop power module (if detachable), or from the power source receptacle (wall plug).
• Power cords should be routed so that they are not likely to be stepped on or pinched by items placed
upon or against them.
• Do not defeat the safety purpose of a polarized or grounding-type plug. A polarized plug has two
blades with one wider than the other. A grounding-type plug has two blades and a third grounding
prong. The wide blade or the third prong is provided for your safety. If the provided plug does not fit
into your outlet, consult an electrician for replacement of the obsolete outlet.
• Unplug this apparatus during lightning storms or when unused for long periods of time.
A:
9300 S.W. Gemini Drive Beaverton, OR 97008 USA
T:
+1 503.641.7287
W:
www.biamp.com
1
Advertisement
Table of Contents

Summary of Contents for Biamp IMPERA ALFA II
- Page 1 INSTALLATION MANUAL IMPERA ALFA II 000.0000.000 WHAT IS IN THE BOX? The box contain the following items: • 1 x Impera - ALFA II • Power cable • Cable relief bracket • Cable relief cover • Phoenix connectors • Screws •...
- Page 2 Contact your local Biamp reseller or distributor. • If the equipment has slots or holes in the enclosure, these are provided to prevent overheating of sensi- tive components inside.
- Page 3 AV-equipment and makes it easy to use through the same interface and recognizable cus- tom graphical user interface. Create custom graphical user interfaces using the intuitive Biamp Project Designer software. You can drag and drop the devices you need from the extensive device driver library, create custom buttons, or use one of the many templates to make control of the room a breeze.
-
Page 4: Specifications
Transmit frequency 400 Hz to 500 KHz IR Learn frequency 1 KHz to 150 KHz uSD-Card Type Micro-SD Card size min / max 1Gb / 4Gb File system FAT 32 9300 S.W. Gemini Drive Beaverton, OR 97008 USA +1 503.641.7287 www.biamp.com... - Page 5 12 VDC output power 24 x input/output connectors 5 x RS-232 or IR connectors (3 x bidirectional RS-232) 1 x Extension Bus 1 x μSD card 1 x RJ-45 Network (LAN) connector 9300 S.W. Gemini Drive Beaverton, OR 97008 USA +1 503.641.7287 www.biamp.com...
-
Page 6: Hardware Installation
1: Mount two clip nuts on each side of the rack as shown below: 2: Slide the ALFA II into the rack and secure with the M6x10 screws. 3: The unit is now ready to be connected with all peripherals as needed. 9300 S.W. Gemini Drive Beaverton, OR 97008 USA +1 503.641.7287 www.biamp.com... -
Page 7: Connections And Controls
6.) If you want to connect and conveniently switch AC power for exter- nal equipment, install the Biamp IEC Mains Adaptor (306-0015, sold Biamp IEC separately) instead of the terminal block and cable relief brackets. - Page 8 IR 2 emitter (white striped wire), as shown here above. striped wire) and GND, as shown above. and black wire from IR 2 emitter to GND, as shown above. 9300 S.W. Gemini Drive Beaverton, OR 97008 USA +1 503.641.7287 www.biamp.com...
- Page 9 The IR learner can be connected directly to the Device Editor software through the USB port. This enables learning of IR codes from your exist- ing IR remote for easy configuration on-site or at your desk. 9300 S.W. Gemini Drive Beaverton, OR 97008 USA +1 503.641.7287 www.biamp.com...
-
Page 10: Troubleshooting
No project found on • If the problem persists after several successful uploads, the control system. contact Biamp or your local distributor. • Make sure that there is a SD card inserted in the control system. (Look at the rear panel). - Page 11 This document describes how to install and operate the Impara - ALFA II. COPYRIGHT - All information contained in this manual is the intellectual property and copyrighted material of Biamp. All rights are reserved. No third party is allowed access to content, information or data in this manual without Biamp express written consent.


Need help?
Do you have a question about the IMPERA ALFA II and is the answer not in the manual?
Questions and answers