Advertisement
Quick Links
Advertisement

Related Manuals for Hay MATIN WALL


Summary of Contents for Hay MATIN WALL
- Page 1 – INSTRUCTION MANUAL – MATIN WALL DESIGN BY INGA SEMPÉ...
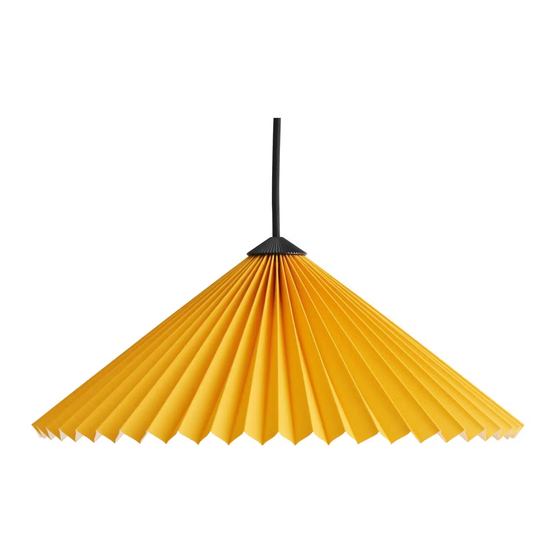
- Page 3 – INTRODUCTION – The Matin Wall Lamp offers a contemporary yet poetic design, with a construction that combines visual delicacy with physical robustness. The head of the lamp can be angled approximately 45 degrees both upwards and downwards to create an ambient uplight as well as directional downlight.
-
Page 4: Care And Maintenance
/ Consult the dealer or an experienced authority for guidance. The product must radio/TV technician for help. not be modified in any way. HAY accepts no responsibility for any products that Warning: Changes or modifications to this have been modified or tampered with. - Page 5 – PARTS – Shade (comes in separate box) Stem and Light Engine Base Wall Bracket and Screw Allen Key Transformer...
- Page 6 Mark the position of where the lamp should be placed on the wall and drill a hole, using the correct type of drill for the wall you are drilling into. Insert the wall plug. Ensure you use the correct type of wall plug for the type of wall the lamp is to be mounted on.
- Page 7 Slide the stem onto the base, as pictured below. Locate the supplied Allen key and tighten the fixed screw that is located on the back of the connecting piece, turning it clockwise.
- Page 8 Clip the cable into the cable clip, which is located on the stem, and into the groove on the back of the connecting piece at the bottom of the stem. Make sure you leave enough free cable for the head to move, as pictured below.
- Page 9 Remove the shade from its packaging and spread out the bottom while simultaneously pushing it down over the top screw so that it rests on top of the top cap. Gently push the top of the pleated shade underneath the top screw, so that it is wedged between the top screw and top cap.
- Page 10 Once the shade is in place, gently adjust the pleats at the top so that they are even- ly spread out, as shown below. Once the shade resembles the illustration below, the top screw can be fully tightened.
- Page 11 Insert the wall bracket into the end of the plastic connector, making sure to push it all the way in. The wall bracket should grip inside the small slot on the bottom of the plastic connector. If you wish to remove the wall bracket, a flat screwdriver can be inserted into the slot, releasing the wall bracket.
- Page 12 Once the wall bracket has been properly mounted, the lamp can be hung on the wall. Place the screw head through the keyhole on the wall bracket and slide the lamp downwards. The screw can now be properly tightened, making sure that the lamp is firmly in place.
- Page 13 Plug the trailing cable into the power supply. Attach the correct adapter for your region. The lamp is now ready to use.
- Page 14 The lamp’s inline switch has a three-setting dimmable feature. The first push sets the lamp to maximum brightness, the second push sets it to medium brightness and the third push sets it to lowest brightness. A fourth push will turn the lamp off. 100%...
- Page 15 The lamp head can be tilted at an angle of approximately 45 degrees upwards and downwards.
- Page 16 Havnen 1 8700 Horsens Denmark +45 4282 0282 / hay@hay.com 711 Canal St. 3rd Floor Stamford CT 06902 United States www.hay.com 15/12/2020...
Need help?
Do you have a question about the MATIN WALL and is the answer not in the manual?
Questions and answers