Advertisement
Quick Links
Advertisement

Subscribe to Our Youtube Channel
Related Manuals for Hay PC LINEAR


Summary of Contents for Hay PC LINEAR
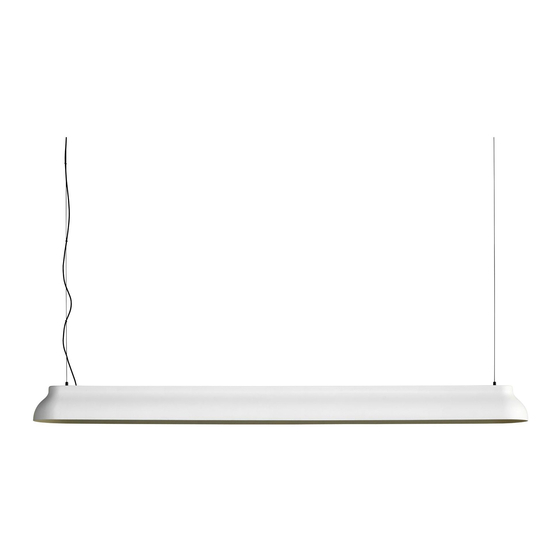
- Page 1 – INSTRUCTION MANUAL – PC LINEAR DESIGN BY PIERRE CHARPIN...
-
Page 3: General Information
The product must not be modified in any way. HAY accepts no responsibility for any products that have been modified or tampered with. The external flexible cable or cord of this luminaire cannot be replaced. - Page 4 – PARTS – Lamp with suspension wire & cable Mounting bracket Ceiling cap LED driver Suspension mount...
- Page 5 Unpack all the parts and check that you have received all the parts listed. Mark the position of the holes to be drilled (104 cm apart) on the ceiling. 104 cm...
- Page 6 Drill the holes using the correct type of drill for the ceiling you are drilling into. Insert the wall plugs. Ensure you use the correct type of wall plugs for the type of ceiling.
- Page 7 Fix the suspension mount to the ceiling using the provided screws. Disassemble the suspension mount as shown below and insert each screw into the suspension mount, screwing them firmly into place.
- Page 8 Once the suspension mounts are firmly in place, the lamp is ready to be mounted. Start by pulling the suspension wire through the disassembled suspension mount (step 1). Guide the wire though the fixed suspension mount and through the exit hole on the side (step 2).
- Page 9 Level the lamp by adjusting the wire. Pull the wire to shorten it or press the tab of the suspension mount to release it. It is recommended that two persons perform this step.
- Page 10 Once the lamp is in place, the excess wire trailing from the exit hole can be cut. Note that once the wire has been cut, the lamp can no longer be lowered.
- Page 11 Drill holes using the correct type of drill for the ceiling you are drilling into. Fix the bracket with the attached driver to the ceiling using the provided screws.
- Page 12 Pull the cable through the ceiling cap before connecting the cable to the driver.
- Page 13 To secure the cable to the mounting bracket, start by loosening the screws on the cable clamps that are mounted on the mounting bracket, and pass the cable through. Once the cable is in place, tighten the screws again.
- Page 14 Wiring to mains power: Taking one wire at at a time, insert the correct wires into the corresponding slots on the terminal block, while pressing down on the small button next to them. The live mains wire should be inserted into the slot marked L and the neutral mains wire into the slot marked N.
- Page 15 Wiring to lamp: Insert the red cable (+) into the slot on the red terminal block (+). Insert the black cable (-) into the slot on the black terminal block (-). It is important that the wires are correctly connected. HAY accepts no responsibility for any damage due to incorrect wiring of the lamp.
- Page 16 Place the ceiling canopy over the LED driver and mounting bracket. There are cable exit holes for the mains wires on either side of the ceiling cap.
- Page 17 Fix the ceiling cap to the bracket using the provided screws.
-
Page 18: Care And Maintenance
Please find our Care & Maintenance guide by scanning the QR code You can find more relevant information on PC Linear by scanning the QR code You can also find the same information here hay.dk/downloads... - Page 20 Havnen 1 8700 Horsens Denmark +45 4282 0282 / hay@hay.com www.hay.com 04/01/2022...
Need help?
Do you have a question about the PC LINEAR and is the answer not in the manual?
Questions and answers