Advertisement
Quick Links
Advertisement

Related Manuals for Hay Arcs Wall


Summary of Contents for Hay Arcs Wall
- Page 1 – INSTRUCTION MANUAL – ARCS WALL SWITCH DESIGN BY MULLER VAN SEVEREN...
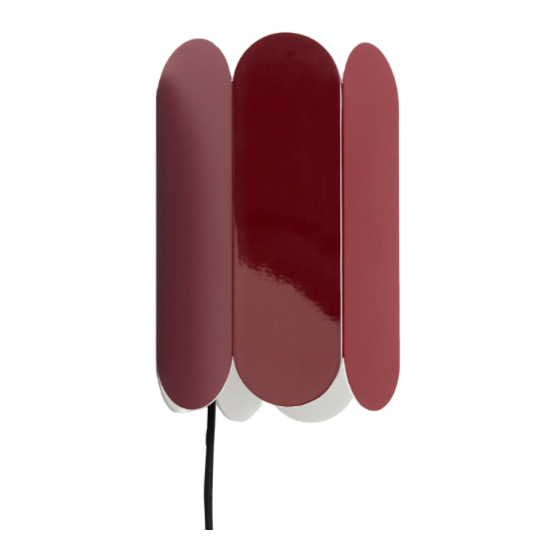
- Page 3 – INTRODUCTION – The Arcs Wall Lamp is part of a series of arched designs created for HAY by Belgian duo Muller Van Severen. Formed from a continuous chain of curved arches that create an elegant, scalloped silhouette, the lamp provides a soft, ambient up and down light that plays with shapes and shadows.
-
Page 4: Care And Maintenance
The product can be cleaned with a soft fitting. HAY recommends using this product damp cloth and mild detergent, or a dry with LED bulbs, max. 8W. HAY will not microfibre cloth. Do not use alcohol or any accept any responsibility for any accidents,... - Page 5 – PARTS – Shade Junction box Backplate UK converter Top and side Plastic plug Wall plugs and mounting screws screws...
- Page 6 Before installing the lamp, make sure that the power is turned off. Mark the position of where the lamp should be placed on the wall and drill two holes using the correct type of drill for the wall you are drilling into. The holes on the backplate can be used as guides, to ensure the correct distance between the holes.
- Page 7 Insert the wall plugs. Ensure you use the correct type of wall plug for the type of wall the lamp is to be mounted on. Once the wall plug is in place, you are ready to mount the backplate with the included screws.
- Page 8 Place the junction box over the backplate, before inserting and fastening the supplied mounting screws on each side of the junction box. Make sure it is fixed firmly in place. Take care not to overtighten the screws, as this could damage the threads.
- Page 9 Place the lamp shade carefully on the junction box. Place the shade so that it sits behind the bottom tab on the mounting bracket, and ensure it sits in place. Move the shade in towards the wall and align the top screw with the top tab of the junction box.
- Page 10 Tighten the top screw carefully, until the shade sits firmly up against the wall. When the top screw is tightened, the bottom of the shade pulls upwards and locks behind the bottom tab of the mounting bracket. Once this step is done, the shade should sit firmly in place.
- Page 11 For UK customers, insert the EU plug into the converter provided. Close the converter over the EU plug with the pins secured in the internal spring clip contacts. Screw the converter together to ensure the UK plug is secure.
- Page 12 Turn the power back on and test that the lamp is working.
- Page 13 Ensure that the power is off and screw an E14 bulb into the bulb fitting.
- Page 14 This task should exclusively be performed by a qualified electrician in order to avoid an electrical hazard. HAY will not accept any responsibility for any accidents, injuries or damages that occur due...
- Page 16 Havnen 1 8700 Horsens Denmark +45 4282 0282 / hay@hay.com 19/04/2021...
Need help?
Do you have a question about the Arcs Wall and is the answer not in the manual?
Questions and answers