Sign In
Upload
Download
Table of Contents
Contents
Add to my manuals
Delete from my manuals
Share
URL of this page:
HTML Link:
Bookmark this page
Add
Manual will be automatically added to "My Manuals"
Print this page
×
Bookmark added
×
Added to my manuals
Manuals
Brands
Signode Manuals
Packaging equipment
SLP-38
Operation, parts and safety manual
Signode SLP-38 Operation, Parts And Safety Manual
Pneumatic combination strapping tool
Hide thumbs
1
2
3
Table Of Contents
4
5
6
7
8
9
10
11
12
13
14
15
16
17
18
19
20
21
22
23
24
25
26
27
28
29
30
31
32
33
34
35
page
of
35
Go
/
35
Contents
Table of Contents
Troubleshooting
Bookmarks
Table of Contents
General Safety Instructions
Table of Contents
Introduction
Specifications
Major Components
Pneumatic Information
Operating Instructions
Strap Joint Formation & Appearance
Part Replacement & Adjustments
Parts List
Troubleshooting
Changing Strap Size
Maintenance
Tool Options
Advertisement
Quick Links
1
Parts List
Download this manual
SLP-38/12/58/34
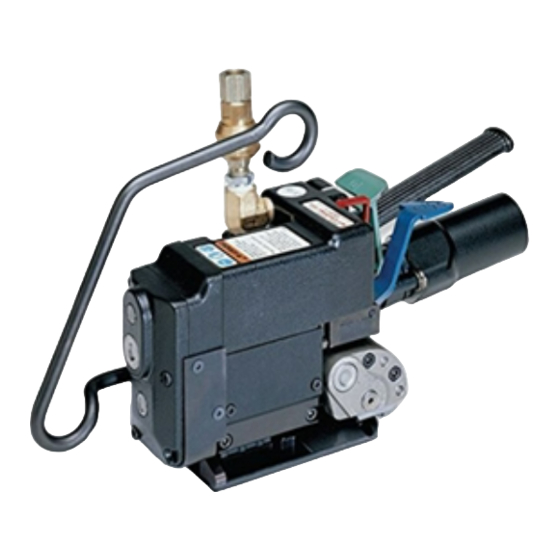
PNEUMATIC COMBINATION STRAPPING TOOL
For Parts & Service 1-877-862-6699
Table of
Contents
Previous
Page
Next
Page
1
2
3
4
5
Advertisement
Table of Contents
Need help?
Do you have a question about the SLP-38 and is the answer not in the manual?
Ask a question
Questions and answers
Related Manuals for Signode SLP-38
Packaging equipment Signode SLP-34 Operation, Parts And Safety Manual
Pneumatic combination strapping tool (35 pages)
Packaging equipment Signode SCMH-58 Operation, Parts And Safety Manual
Manual combination strapping tool (20 pages)
Packaging equipment Signode SCMH-34 Operation, Parts And Safety Manual
Manual combination strapping tool (20 pages)
Packaging equipment Signode SPC-3431 Operation, Parts And Safety Manual
(33 pages)
Packaging equipment Signode strapex STB 77 Operating Instructions Manual
Battery-operated strapping tool for plastic strapping (26 pages)
Packaging equipment Signode AL-12/38 Operation, Parts And Safety Manual
Combination strapping tools (12 pages)
Packaging equipment Signode BXT3-13 Service Manual
Battery-operated hand tool for plastic strapping (37 pages)
Packaging equipment Signode BXT 2 Maintenance Manual
(33 pages)
Packaging equipment Signode BPT-H32 Operating And Safety Instructions Manual
Battery-operated strapping tool for steel strapping 19, 25, 32 mm (3/4, 1, 11/4″) (50 pages)
Packaging equipment Signode HBX-4300 Manual
Small anvil (6 pages)
Packaging equipment Signode TABLE-TYER Operation, Parts And Safety Manual
Power strapping machines (42 pages)
Packaging equipment Signode PRHR-34 Operation, Parts And Safety Manual
Push type power combination strapping tool (15 pages)
Packaging equipment Signode BHC Operation And Safety Manual
Combination strapping tool (16 pages)
Packaging equipment Signode BXT 10 Operation, Parts And Safety Manual
Battery-hand tool for plastic strapping (19 pages)
Packaging equipment Signode AK200HDX-19 Operation, Parts And Safety Manual
Plastic strapping head, 19/25/32 mm (82 pages)
Packaging equipment Signode MCD-710 Operation, Parts And Safety Manual
(52 pages)
This manual is also suitable for:
Slp-12
Slp-58
Slp-34
Table of Contents
Print
Rename the bookmark
Delete bookmark?
Delete from my manuals?
Login
Sign In
OR
Sign in with Facebook
Sign in with Google
Upload manual
Upload from disk
Upload from URL


Need help?
Do you have a question about the SLP-38 and is the answer not in the manual?
Questions and answers