Advertisement
Quick Links
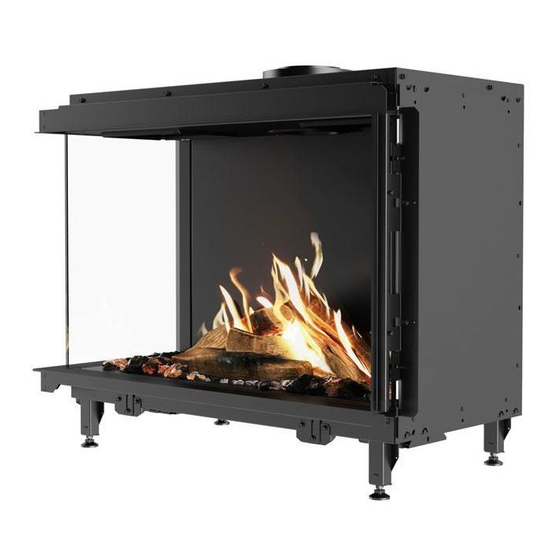
ARRANGING CERAMIC "LOGS" - VISIO 90 F, LC/RC & 3S
Arranging ceramic logs - Visio 90 F, LC/RC & 3S
It is very important that you follow this when positioning ceramic "logs" and the
embers layer in the fireplace. Failure to carry this out correctly will cause the fireplace
to not burn optimally and soot to occur.
OPSTILLINGSAFSTANDE
1
Advertisement

Subscribe to Our Youtube Channel
Related Manuals for RAIS Visio 90 F


Summary of Contents for RAIS Visio 90 F
- Page 1 ARRANGING CERAMIC ”LOGS” - VISIO 90 F, LC/RC & 3S OPSTILLINGSAFSTANDE Arranging ceramic logs - Visio 90 F, LC/RC & 3S It is very important that you follow this when positioning ceramic “logs” and the embers layer in the fireplace. Failure to carry this out correctly will cause the fireplace to not burn optimally and soot to occur.
- Page 2 IMPORTANT INFORMATION: CERAMIC “LOGS” AND THE EMBERS LAYER OPSTILLINGSAFSTANDE – OVN MED DREJEFOD Important information: Ceramic “logs” and the embers layer When arranging ceramic “logs” and the embers layer in the combustion chamber, it is important that they do not cover the pilot flame and its thermocouple, and ember material must not be placed under the pilot guard. Both thermocouples must be kept free of the embers layer.
- Page 3 ARRANGING CERAMIC ”LOGS” AND EMBERS OPSTILLINGSAFSTANDE – OVN MED DREJEFOD Visio 90 F, LC/RC & 3S You will find these ceramic logs in the package: Note the small bump on the right side Procedure: 1. S tart by securing two burners in the fireplace’s base plate. NB! For natural gas and city gas please position the secondary burners as described in the installation manual on page 28.
- Page 4 ARRANGING CERAMIC ”LOGS” AND EMBERS 2. Position log no. 6 as shown in the image. 15 cm 15 cm 22 cm 22 cm 26 cm 26 cm 3. P osition log no. 5 as shown in the image. 11 cm 11 cm 29 cm 29 cm...
- Page 5 ARRANGING CERAMIC ”LOGS” AND EMBERS 4. F rom the opposite side log no. 4 is positioned as shown in the image. 17 cm 17 cm 5 cm 5 cm 2 cm 2 cm 5. T hen position log no. 3 resting on log no. 4 as shown in the image. 1 cm 1 cm 18 cm 18 cm 8 cm 8 cm...
- Page 6 ARRANGING CERAMIC ”LOGS” AND EMBERS 6. N ow the glass stones should be spread out in the gas fireplace. Meassure out 8 dl of glass stones in a meassuring cup. 7. S pread out the glass stones (8 dl in total) on each side of the gas fireplace - over the LED lights. It is important that the glass stones are spread out in a thin layer that covers the holes in the bottom of the fireplace.
- Page 7 ARRANGING CERAMIC ”LOGS” AND EMBERS 8. N ow meassure out 2,5 l of embers (a mix of the grey and black chips). 9. S pread the embers across both the glass stones and the base plate with the holes. Place the filaments on the pilot area. NB! It is extremely important that you do not cover the pilot area and the holes there (see page 2).
- Page 8 ARRANGING CERAMIC ”LOGS” AND EMBERS 10. Position log no. 1 (with the recess) over the right burner. 11. P osition log no. 2 (with the recess) over the left burner.
- Page 9 ARRANGING CERAMIC ”LOGS” AND EMBERS 12. Ensure that log no. 3 and log no. 6 do not touch log no. 1 and log no. 2. There should be space between them. 13. Mount the glasses again. Scan the QR code to see a video of how to mount the glass.
Need help?
Do you have a question about the Visio 90 F and is the answer not in the manual?
Questions and answers