Table of Contents
Advertisement
Quick Links
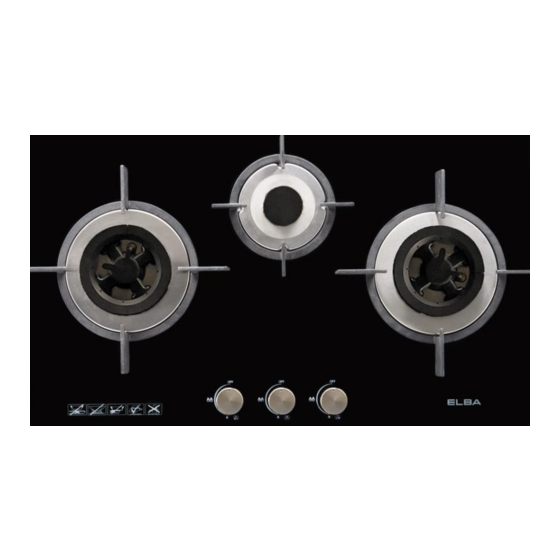
BUILT-IN HOB
MODEL: EGH-K8942G(BK)
EGH-K8943G(BK)
Owner's Manual
Please read this manual carefully before
operating your set.
Retain it for future reference.
Record model number and serial number
of the set.
See the label attached on the set and
quote this information to your dealer when
you require service.
For The Warranty Terms & Conditions, Please Refer To Warranty Certificate
Advertisement
Table of Contents


Need help?
Do you have a question about the EGH-K8942G and is the answer not in the manual?
Questions and answers