Table of Contents
Advertisement
Quick Links
Advertisement
Table of Contents

Related Manuals for Labnet ESCZ100A


Summary of Contents for Labnet ESCZ100A
- Page 1 Z100A Clinical Centrifuge User Manual ESCZ100A Rev 2 August 2016...
- Page 2 About This Manual This manual is designed to assist you in the optimal usage of your Z100A Clinical Centrifuge.
- Page 3 Safety Precautions NEVER use the centrifuge in any manner not specified in these instructions. NEVER operate the centrifuge without a rotor properly attached to the shaft. NEVER fill tubes while they are in the rotor. Liquid spillage may harm unit. NEVER put hands in the rotor area unless the rotor is completely stopped.
-
Page 4: Table Of Contents
Table of Contents 1. General Information Description Safety precautions to be observed before operating Technical data Accessories Warranty 2. Installation Unpacking the centrifuge Required space Cushion Installation Centrifuge Installation 3. Operation Closing the lid Lid release Lid lock Starting the centrifuge 4. -
Page 5: General Information
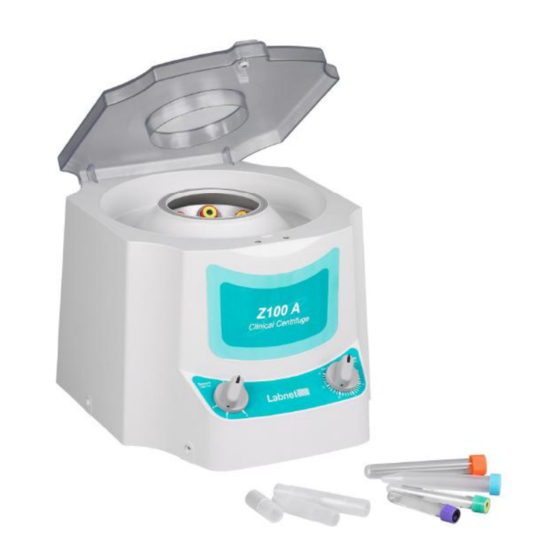
1. General Information This manual is intended for use with the Z100-A (ESCZ100A) Centrifuge. 1.1 Description The Z100-A is a small benchtop centrifuge designed for sedimentation of various samples. The Z100-A has a built in angle rotor capable of running up to 4,000 rpm (1,967 x g). -
Page 6: Warranty
This warranty becomes invalid in the case of incorrect operation, use of nonstandard spare parts or accessories and unauthorized modification of the rotor or centrifuge. Labnet reserves the right to make technical modifications. Statements contained herein are not to be considered binding. 2. Installation 2.1 Unpacking the centrifuge... -
Page 7: Centrifuge Installation
2.4 Centrifuge Installation Make certain that the time is set for the “off” position. Before operating the centrifuge, check that the power source corresponds to that on the manufacturer’s rating label, then connect the power cord to a properly grounded outlet. Attention: Ensure that the time is in the “OFF”... - Page 8 Note: The clinical centrifuge is calibrated at 120 volts line voltage. Operating the centrifuge at a line voltage other than 120V can significantly impact the speed settings below 2,000 rpm. 4. Proper loading of the rotor 4.1 Rotor capacity The rotor has been designed to handle samples with a maximum density of 1.2g/mL. Tubes should not be run with any substance having a density above 1.2g/mL.
-
Page 9: Rotors And Accessories
4.3 Rotors and accessories Angle rotor for 6 x 10/15mL tubes (included) Centrifuging radius 11cm Max RCF 1,967 x g Adapter C0200-17A: For 5mL (13 x 75mm) and 7mL tubes (13 x 100mm) Centrifuging radius 8.65cm Max RCF 1,547 x g 5. -
Page 10: Replacing Fuses
5.5 Replacing fuses Check the fuse when it is recommended in the “Troubleshooting Guide” located in this manual. The fuse holder is located underneath the unit. Unplug the unit. Unscrew the fuse holder and remove the fuse. Replace a blown fuse with a fuse of equivalent rating and type. 6. - Page 12 According to Directive 2012/19/EU of the European Parliament and of the Council of 4 July 2012 on waste electrical and electronic equipment (WEEE), Labnet Z100A Clinical Centrifuge is marked with the crossed-out wheeled bin and must not be disposed of with domestic waste.
Need help?
Do you have a question about the ESCZ100A and is the answer not in the manual?
Questions and answers