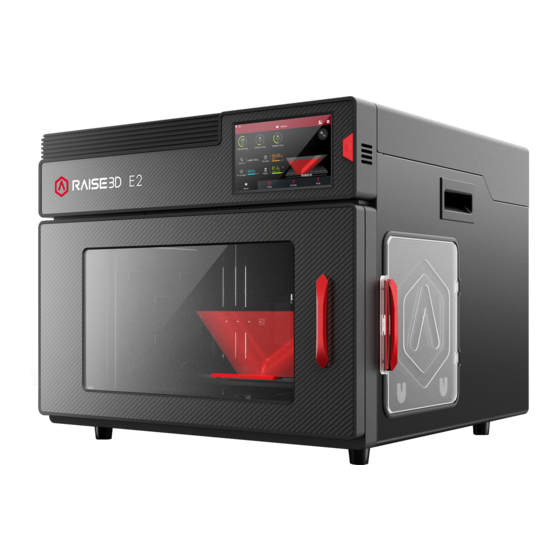
Raise3D E2 Manual
How to replace the thermocouple
Hide thumbs
Also See for E2:
- Quick start manual (28 pages) ,
- Quick start manual (13 pages) ,
- User manual (80 pages)
Subscribe to Our Youtube Channel
Summary of Contents for Raise3D E2
- Page 1 How to Replace the Thermocouple – V1.0 Date:07/20/2020 Manual E2 – How to Replace the Thermocouple – V1.0 Tools: ① 2 mm hex wrench ② 1.5 mm hex wrench ③ 3 mm hex wrench ④ Adjustable Wrench - 1 / 17 -...
- Page 2 Note: For the unload temperature, please refer to the printing temperature of the filament or the label on the filament spool. Power off the printer. Release the extruder connection cable retaining buckle. - 2 / 17 - www.raise3d.com...
- Page 3 Remove the extruder connection cable from the board by pressing the small plastic connector down, and gently pulling the connector out. Use a 3mm hex wrench to remove the two screws retaining the extruder on the X-axis. - 3 / 17 - www.raise3d.com...
- Page 4 Remove the extruder from X-axis, and put it on a working desk. Use a 2mm hex wrench to remove the two screws retaining the extruder connection board cover to the extruder, and remove the extruder connection board cover. - 4 / 17 - www.raise3d.com...
- Page 5 Use a 2mm hex wrench to remove the two screws retaining the front cover to the extruder, and remove the front cover. Use a 2mm hex wrench to remove the two screws retaining the extruder connection board to the extruder. - 5 / 17 - www.raise3d.com...
- Page 6 Note: The positions of thermocouple cable and heating rod power cable connector on the left and right print head are different, please distinguish between them according to the marks in the following figure. - 6 / 17 - www.raise3d.com...
- Page 7 12. There are two rows of sharp welding pins on the back of the board. Cover the sharp welding pins with thick insulation tape to prevent it from injuring the nylon covering of the hotend cable, or it may cause short circuit. - 7 / 17 - www.raise3d.com...
- Page 8 How to Replace the Thermocouple – V1.0 Date:07/27/2020 13. Loosen the hotend retaining screw with the 2mm hex wrench. - 8 / 17 - www.raise3d.com...
- Page 9 If this happens, please reconnect the print head and heat the hotend to melt the filament. And be careful not to damage the heating rod power cable when removing the thermocouple. - 9 / 17 - www.raise3d.com...
- Page 10 16. Prepare a new thermocouple, and then screw it back on the hotend. Note: Please make sure that the thermocouple is fully screwed. If the thermocouple is not fixed completely, the printer will report a board error. - 10 / 17 - www.raise3d.com...
- Page 11 How to Replace the Thermocouple – V1.0 Date:07/27/2020 17. Insert the hotend back to the print head. 18. After the hot end is fully inserted, reinstall the retaining screw. - 11 / 17 - www.raise3d.com...
- Page 12 How to Replace the Thermocouple – V1.0 Date:07/27/2020 19. Bend the cable around the motor. 20. Place these cables into the cable management slots of the extruder controller board. - 12 / 17 - www.raise3d.com...
- Page 13 Note: The positions of thermocouple cable and heating rod power cable connector on the left and right print head are different, please distinguish between them according to the marks in the figure. - 13 / 17 - www.raise3d.com...
- Page 14 23. Reinstall the two screws with a 2mm hex wrench and fix the extruder connection board to the extruder. 24. Put the front cover back to the extruder, and use the 2mm hex wrench to reinstall the two screws. - 14 / 17 - www.raise3d.com...
- Page 15 25. Put the extruder connection board cover back to the extruder, and use the 2mm hex wrench to reinstall the two screws. 26. Put the extruder back to the X-axis, and reinstall the two screws retaining the extruder on the X-axis. - 15 / 17 - www.raise3d.com...
- Page 16 28. Turn on the printer and run the five-step wizard. It is recommended to adjust the height of the left and right nozzles as well. (For more information please refer to the tutorial: Manual E2 – How to Adjust the Height of Left and Right Nozzle –...
- Page 17 How to Replace the Thermocouple – V1.0 Date:07/27/2020 America | Asia | Europe Sales & Business: sales@raise3d.com Technical Support: help.raise3d.com For any other inquiries: inquiry@raise3d.com - 17 / 17 - www.raise3d.com...


Need help?
Do you have a question about the E2 and is the answer not in the manual?
Questions and answers