
Related Manuals for International Concepts BD-8006


Summary of Contents for International Concepts BD-8006
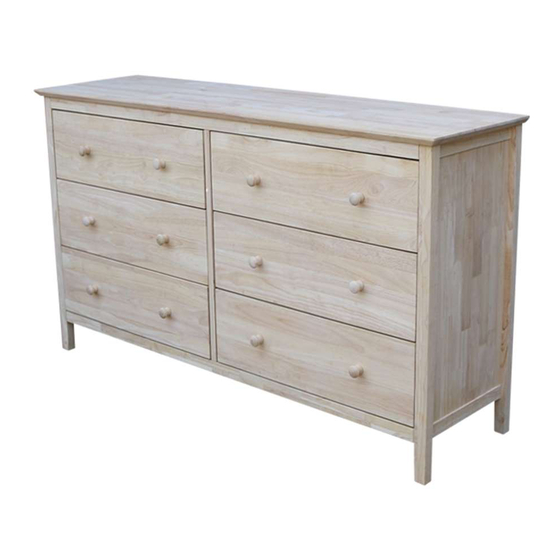
- Page 1 ASSEMBLY INSTRUCTIONS Description : 6 DRAWER DRESSER RTA Item No. : BD-8006 ITEM NO: BD-8006 Printed in Vietnam REVISED APR 08, 2015 - 1 -...
-
Page 2: Before Assembly
Protect the surface of the product with cloth if you are using any product with rubber feet or base. ASSEMBLY TOOLS REQUIRED NOT INCLUDED ITEM NO: BD-8006 Printed in Vietnam REVISED APR 08, 2015 - 2 -... -
Page 3: Part List
Descriptio Sketch Description Sketch Bottom panel Vertical Side panel (L-R) panel Back panel Back rail Support Drawer side (L&R) Drawer Drawer back front Drawer Support bar bottom ITEM NO: BD-8006 Printed in Vietnam REVISED APR 08, 2015 - 3 -... -
Page 4: Hardware List
( 6.5x11mm) ( M4x30mm) Flat Washer Steel band ( 6.5x13mm) Allen key Warning label (M4x80mm) Screw Screw (M4 x 35mm) (M3X15mm) Pan head screw (M4 x 30mm) ITEM NO: BD-8006 Printed in Vietnam REVISED APR 08, 2015 - 4 -... - Page 5 Attach the top (A), and bottom panel (B) to a side panel (D) with bolts (1) and washers (2) and (3) .Tighten with Allen key (4). Slide back panel (F), and back rail (E) into the groove as shown below. ITEM NO: BD-8006 Printed in Vietnam REVISED APR 08, 2015...
- Page 6 STEP 4 Attach back rail (E) to side panels (D) with screws (5) .Tighten with a screwdriver. Attach the steel band (9) to Chest with screws (11). ITEM NO: BD-8006 Printed in Vietnam REVISED APR 08, 2015 - 6 -...
- Page 7 Insert drawer bottom (K) into the grooves at bottom of drawer sides (H), drawer front (I) as shown below. STEP 6 Attach drawer back (J) to drawer sides (H) with screws (5) as shown below. Tighten with a screwdriver. ITEM NO: BD-8006 Printed in Vietnam REVISED APR 08, 2015 - 7 -...
- Page 8 STEP 8 Attach knobs (7) to front of drawers with screws (6). Tighten with the screwdriver. Stick the warning labels (10) inside the drawers before use. ITEM NO: BD-8006 Printed in Vietnam REVISED APR 08, 2015 - 8 -...
- Page 9 STEP 9 Attach steel band (9) to the wall with screw (5) as shown below (to secure the product and prevent tipping). ITEM NO: BD-8006 Printed in Vietnam REVISED APR 08, 2015 - 9 -...
Need help?
Do you have a question about the BD-8006 and is the answer not in the manual?
Questions and answers