
Related Manuals for International Concepts OT-92


Summary of Contents for International Concepts OT-92
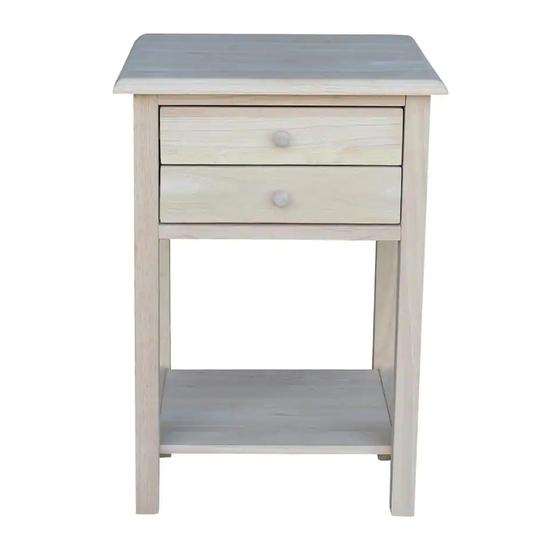
- Page 1 ASSEMBLY INSTRUCTIONS Description : LAMP TABLE Item : OT-92 ITEM NO.: OT-92 Printed in Vietnam REVISED NOV 05, 2014 - 1 -...
-
Page 2: Before Assembly
Long exposure to rubber or soft plastic may cause a chemical reaction and damage the finish of your product. Protect the surface of the product with cloth if you are using any product with rubber feet or base. ASSEMBLY TOOLS REQUIRED NOT INCLUDED ITEM NO.: OT-92 Printed in Vietnam REVISED NOV 05, 2014 - 2 -... -
Page 3: Part List
Description Sketch Description Sketch Long bolt Screw (M6x35mm) (M4x35mm) Flat washer Knob (6.5x13mm) Lock washer Pan head screw (6.5x11mm) (M4 x 30mm) Allen key (4x80mm) ITEM NO.: OT-92 Printed in Vietnam REVISED NOV 05, 2014 - 3 -... - Page 4 Tighten with Allen key (4). Attach top crossbar (E) and bottom crossbar (F) to side frames (B) with screws (5) as shown below. Tighten with a screwdriver. ITEM NO.: OT-92 Printed in Vietnam REVISED NOV 05, 2014 - 4 -...
- Page 5 STEP 3 Insert drawer (G) into the unit. Attach knob (6) to the drawer front with pan head screws (7) as shown below. Tighten with a screwdriver. ITEM NO.: OT-92 Printed in Vietnam REVISED NOV 05, 2014 - 5 -...
Need help?
Do you have a question about the OT-92 and is the answer not in the manual?
Questions and answers