Table of Contents
Advertisement
Quick Links
Advertisement
Table of Contents

Related Manuals for socomec DIRIS DigiBOX A


Summary of Contents for socomec DIRIS DigiBOX A
- Page 1 Instruction Manual D I R I S D i g i B O X A energy W h e n m a t t e r s...
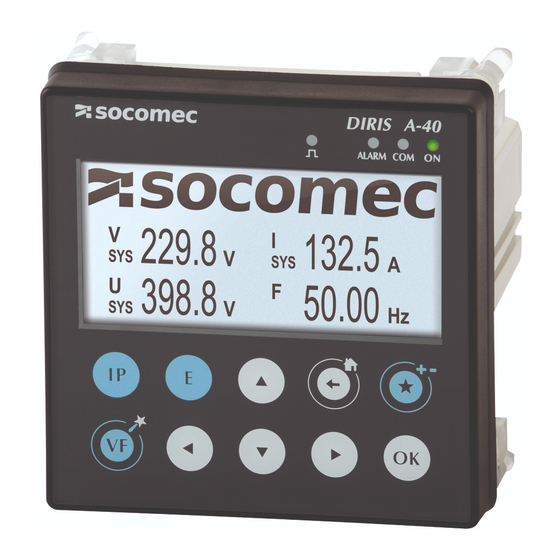
- Page 2 SOCOMEC PM Installation and Commissioning Guide DIRIS DigiBOX A Introduction: The purpose of this document is to explain the steps of installing the DIRIS DigiBOX A. Part Number Description DIRIS A-40 Power Analyzer with Ethernet Modbus TCP/IP output and built in web server- USDBPA40ET Enclosed in NEMA 4X PC Enclosure prewired with fused voltage conncetions.
-
Page 3: Table Of Contents
SOCOMEC PM Installation and Commissioning Guide DIRIS DigiBOX A Table of Contents 1. Hazards and Warning ........................ 5 1.1. Risk of electrocution, burns or explosion ................ 3 1.2. Risk of damaging the device ..................... 3 1.3. Responsibility ........................4 2. Conduit Hole ..........................5 3. -
Page 4: Hazards And Warning
The term "device" used in the paragraphs below refers to the DIRIS A-40. The assembly, use, servicing and maintenance of this product must only be carried out by trained, qualified professionals. SOCOMEC shall not be held responsible for failure to comply with the instructions in this manual. -
Page 5: Responsibility
SOCOMEC PM Installation and Commissioning Guide DIRIS DigiBOX A 1.3. Responsibility Assembly, connection and use must be carried out in accordance with the installation standards currently in force. The device must be installed in accordance with the rules given in this manual. -
Page 6: Conduit Hole
Installation and Commissioning Guide DIRIS DigiBOX A 2. Conduit Hole The DIRIS DigiBOX A is shipped without the conduit holes; they will need to be cut on the left side, right side, and/or the top. See the below drawings for recommended conduit hole locations. -
Page 7: Install Mounting Feet To The Back Of The Enclosure
Installation and Commissioning Guide DIRIS DigiBOX A 3. Install Mounting Feet to the Back of the Enclosure 1. The DIRIS DigiBOX A is shipped with the mounting feet in the bag. Figure 2: Mounting feet and hardware provided with the DIRIS DigiBOX A. -
Page 8: Wiring Of The System
Use class 1 conductors and the input voltage must be 480VAC L-L. Make sure that the metal cover is still open inside the DIRIS DigiBOX A. 1. Behind the metal plate the prewired and the components that need to be wired can be seen. - Page 9 SOCOMEC PM Installation and Commissioning Guide DIRIS DigiBOX A Figure 7: The firmware to be downloaded is labeled DIRIS A-40. d. Once downloaded open the software to get the below screen: Figure 8: Product Upgrade tool home screen. e. Click refresh to get the below screen.
- Page 10 SOCOMEC PM Installation and Commissioning Guide DIRIS DigiBOX A Click browse and select the firmware folder that was downloaded. If you see the orange symbol that means the software file selected is the same as the one on the DIRIS A-40 currently. If there is a green symbol then that means an update is needed.
-
Page 11: Configuration Using Wizard
DIRIS A-40 provides step by step setup on screen. Follow the on screen instructions. 5.2. Configuration using EasyConfig EasyConfig is free software available to download on the Socomec website. If you would like to configure the DIRIS A-40 by EasyConfig please refer to the DIRIS A-40 instruction manual: https://www.socomec.us/wp-... - Page 12 SOCOMEC PM Installation and Commissioning Guide DIRIS DigiBOX A 2. Change the user profile to “Admin”. To do this click on the “x” at the top right hand corner to get the home screen where you can login as a different user (see Figure 29).Default passwords are listed below:...
- Page 13 SOCOMEC PM Installation and Commissioning Guide DIRIS DigiBOX A 5. Click on “Read configuration”. Figure 16: Click on the “Read configuration”. 6. Click on “Apply Configuration”. Now the Webview has the configurations that were done on the DIRIS A-40. For more information on Webview refer to the Webview Instruction Manual.
- Page 14 SOCOMEC PM Installation and Commissioning Guide DIRIS DigiBOX A NOTES PAGE Installation and Commissioning Guide DIRIS DigiBOX A Ref: dcg_A402019us.rev1 Page 13/15...
- Page 15 SOCOMEC PM Installation and Commissioning Guide DIRIS DigiBOX A NOTES PAGE Installation and Commissioning Guide DIRIS DigiBOX A Ref: dcg_A402019us.rev1 Page 14/15...
- Page 16 SOCOMEC PM Installation and Commissioning Guide DIRIS DigiBOX A Installation and Commissioning Guide DIRIS DigiBOX A Ref: dcg_A402019us.rev1 Page 15/15...
Need help?
Do you have a question about the DIRIS DigiBOX A and is the answer not in the manual?
Questions and answers