
Related Manuals for 3M 8865-C


Summary of Contents for 3M 8865-C
- Page 1 The Network of Networks. No Polish ST Connector SM and MM, ™ Flat Splice, 250/900 µm Instructions November 2012 78-0013-6978-0-B...
-
Page 2: Safety Precautions
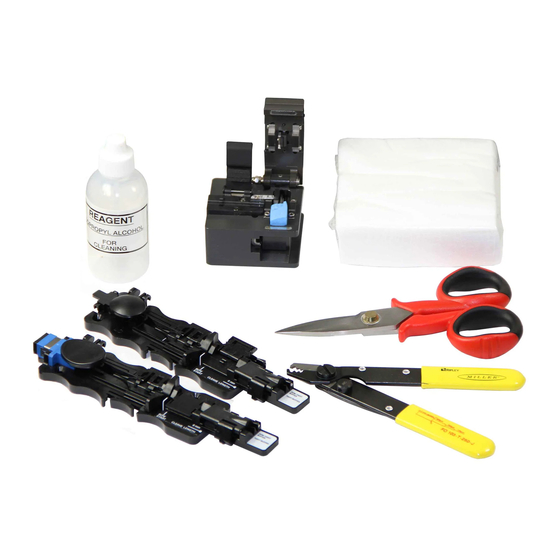
Upon eye contact, immediately flush eyes with water while holding eyelids open and continue flushing for ten minutes. Contact a physician. Upon skin contact, wash with soap and water. Product Information: Material Safety Data Sheet or call 3M at 1-800-364-3577 or 651-737-6501 (24 hours). Bare Fiber Handling C AUTION... - Page 3 1.0 Connector and Tool Diagram the cut segment will be noticeably difficult to remove without the aid of a tool. 1.1 The diagrams below show the parts of the 3M ™ Polish ST Connector (singlemode pictured) and the Note: When using loose tube or semi-tight buffered No Polish ST Connector Assembly Tool 8835- ™...
- Page 4 2.3 Move the guide funnel forward on the fiber holder 2.5 With the guide funnel fully forward, lay the fiber until it stops; open doors and fiber clamp. in the central groove along the length of the fiber holder as shown. Position it such that the stripped and cleaved portion extends slightly beyond the tip Funnel Door Bow Start Door...
- Page 5 Guide funnel door opened by cam on the assembly base 250 µm fi ber Close the funnel door and bow start door on the fiber holder. Again ensure that the guide funnel is pushed Fiber bow should start when the white line on completely forward to the end of the fiber holder.
- Page 6 2.10 While maintaining the fiber bow, firmly press the Apply equal element actuator button to actuate the splice element downward pressure within the connector. 2.12 To activate the 900 µm buffer crimp at the rear of the connector, press and hold inward on the release lever Note: Never activate a connector without a fi ber in located on the side of the assembly base, and push the it or with a fi ber only partially inserted.
- Page 7 Directive 2002/95/EC, as amended by Commission Decision 2005/618/EC, unless the substance is in an application that is exempt under EU RoHS. This information represents 3M’s knowledge and belief, which may be based in whole or in part on information provided by third party suppliers to 3M.
- Page 8 Warranty; Limited Remedy; Limited Liability. This product will be free from defects in material and manufacture for a period of one (1) year from the time of purchase. 3M MAKES NO OTHER WARRANTIES INCLUDING, BUT NOT LIMITED TO, ANY IMPLIED WARRANTY OF MERCHANTABILITY OR FITNESS FOR A PARTICULAR PURPOSE.
Need help?
Do you have a question about the 8865-C and is the answer not in the manual?
Questions and answers